APNs Requirements
To send push notifications to iOS devices, AppAmbit uses Apple Push Notification service (APNs).
Before configuring APNs inside AppAmbit, you must prepare your Apple Developer account and generate the necessary credentials.
This guide walks you through the full setup process.
Step 1: Sign in to Apple Developer
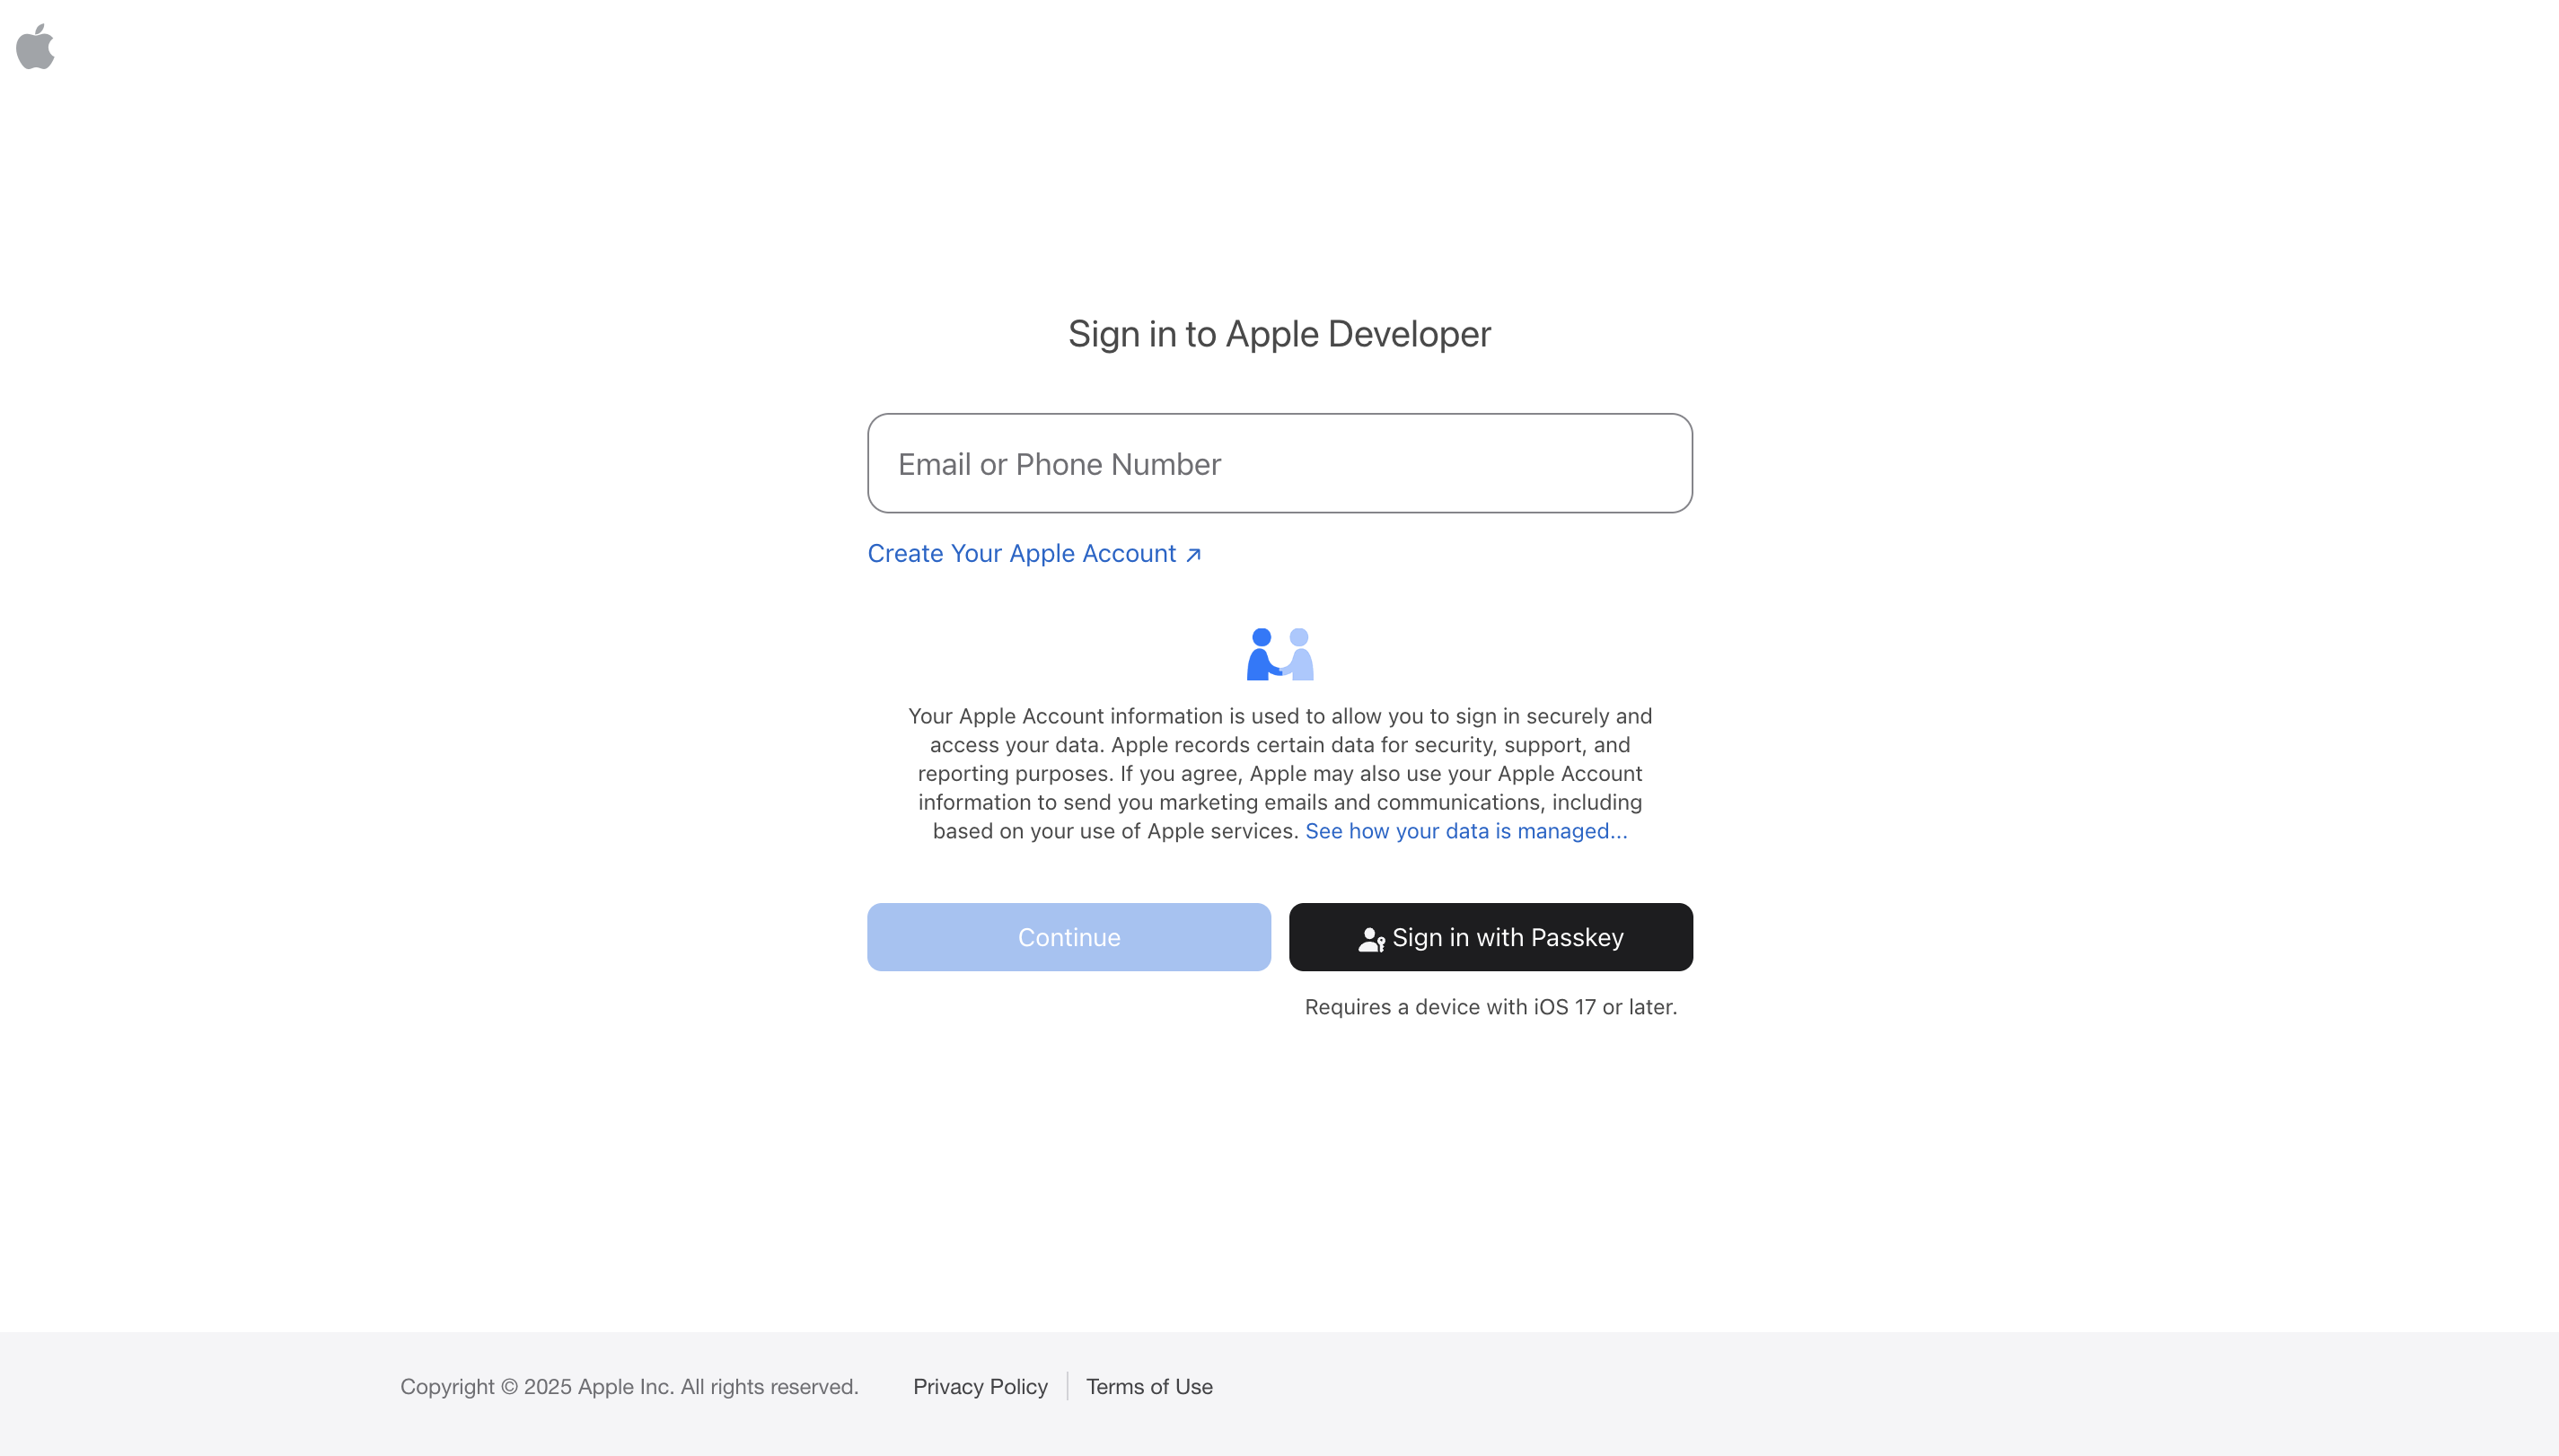
To begin, you need an Apple Developer account. This is a paid membership that gives you access to all Apple development tools and services, including APNs.
- Visit the Apple Developer portal:
Apple Developer Account - Sign in with your Apple ID.
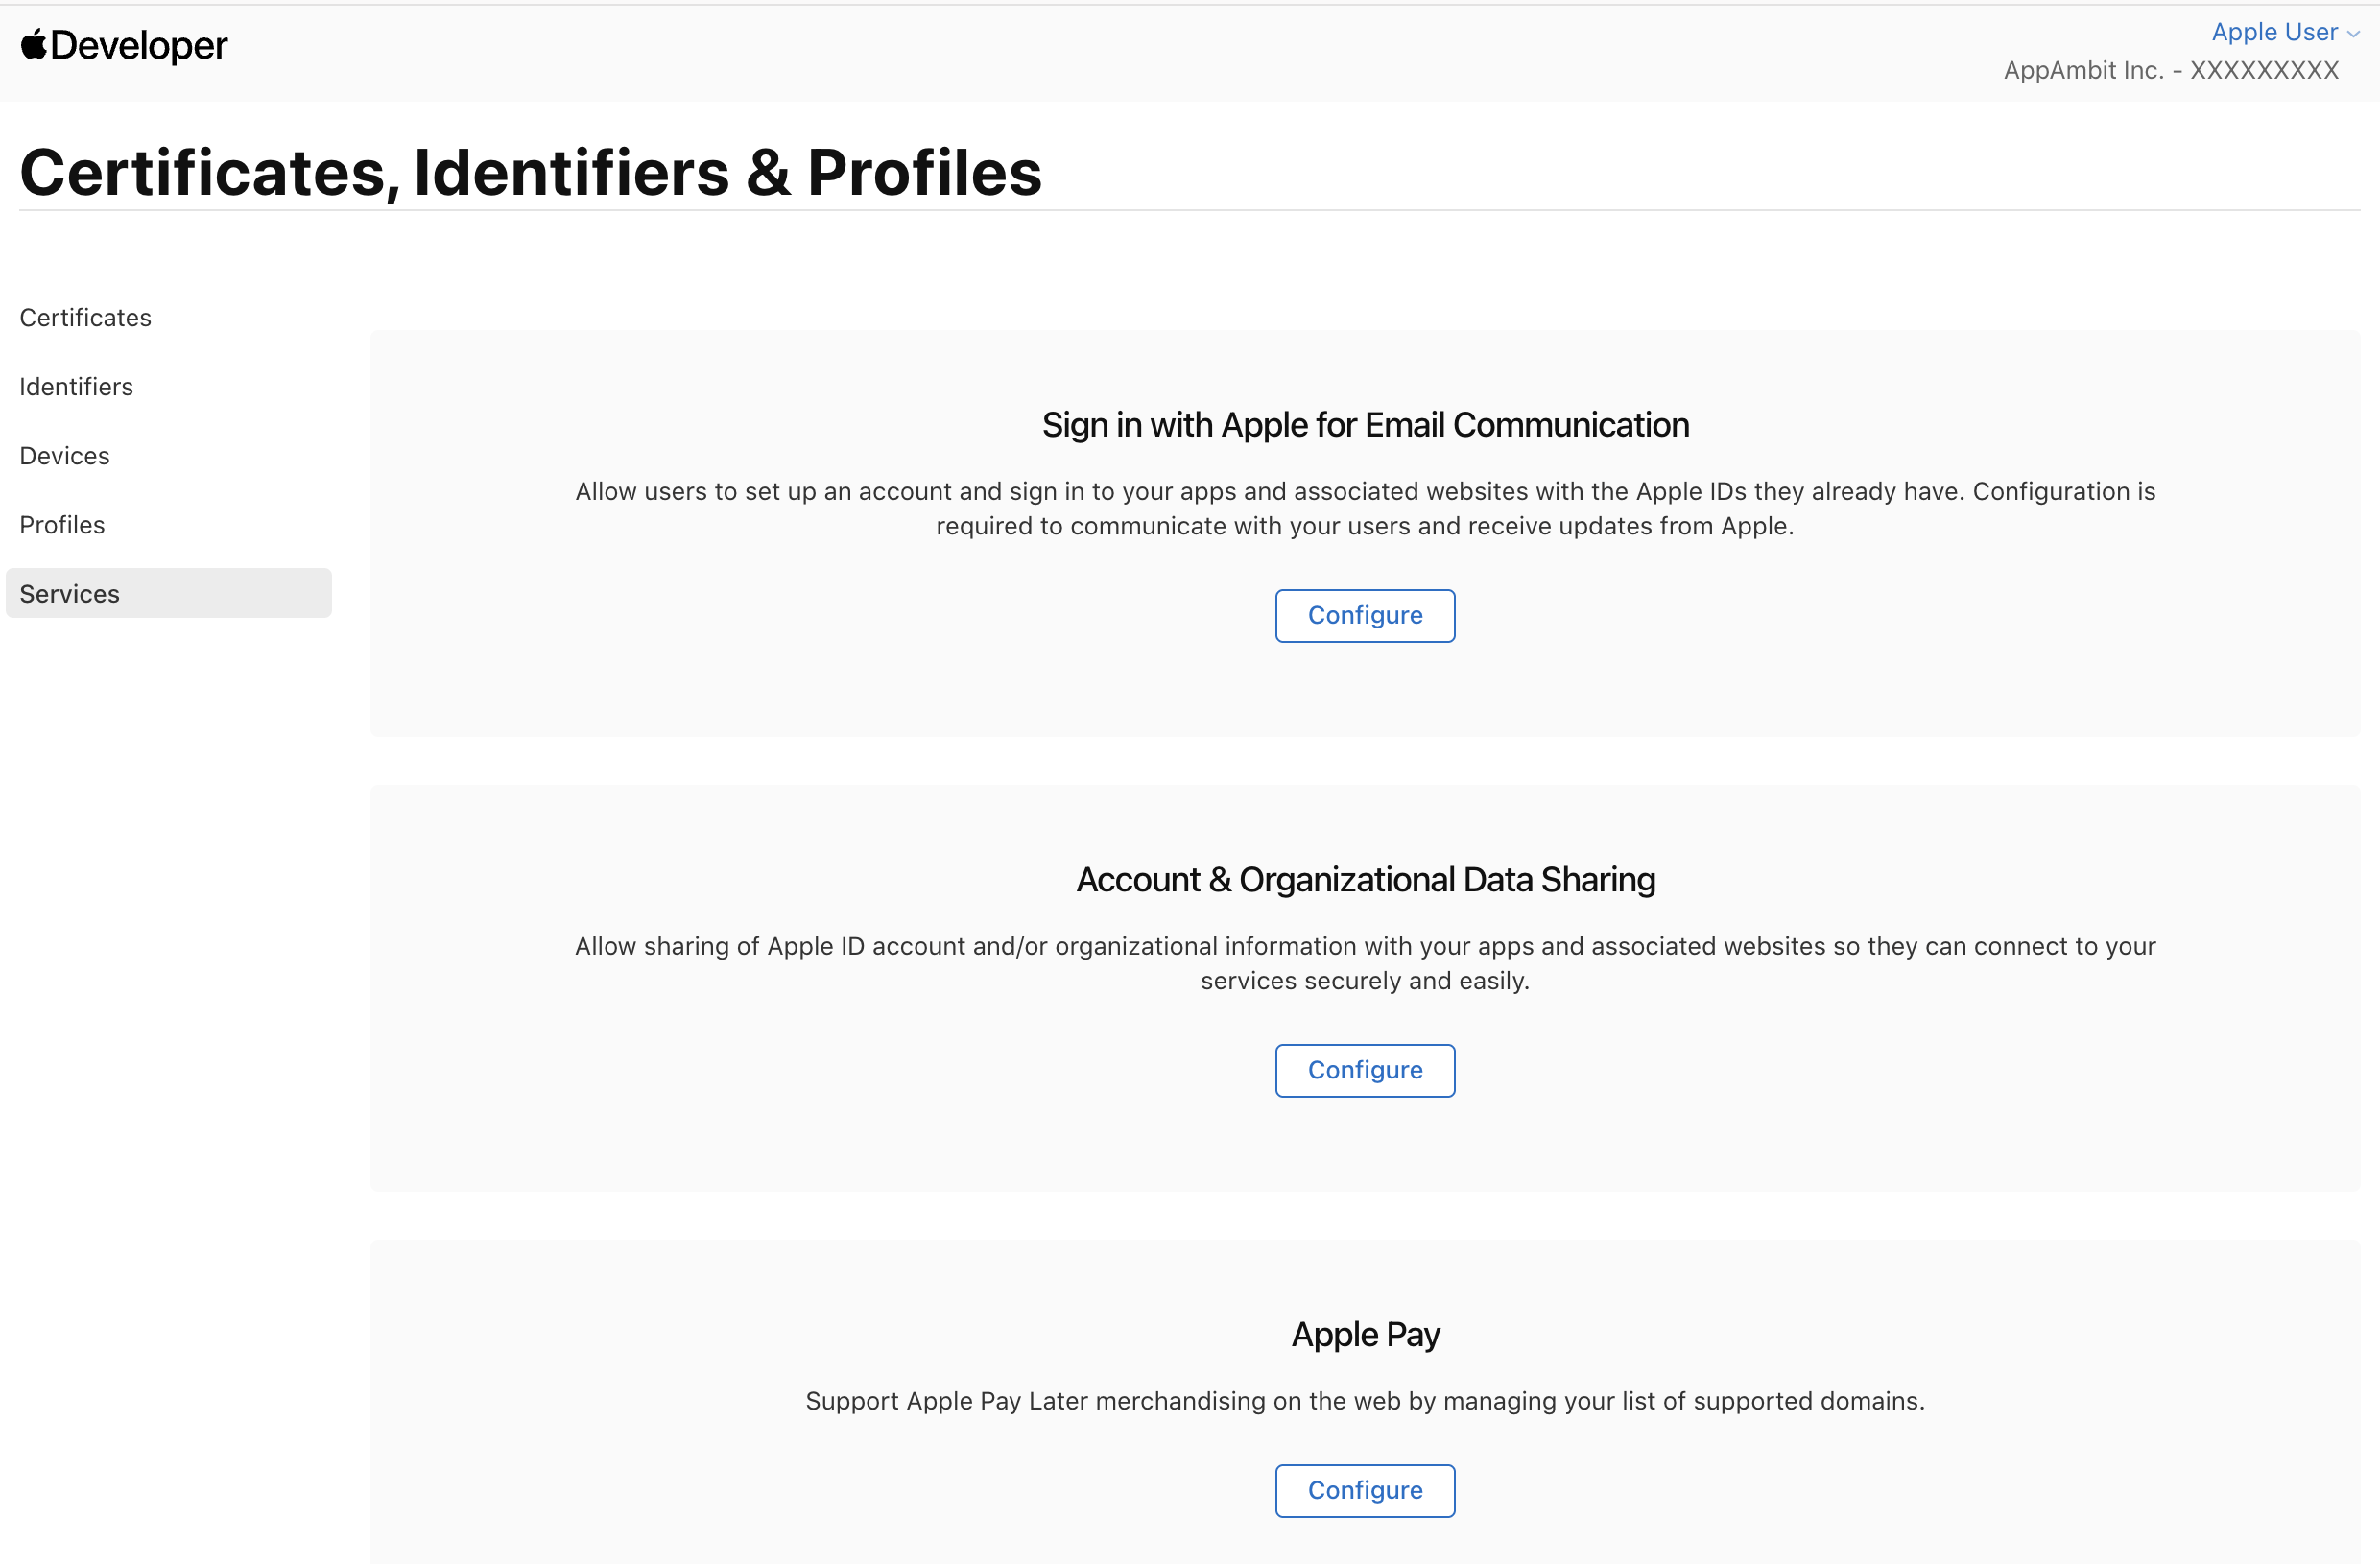
Step 2: Access Certificates, Identifiers & Profiles
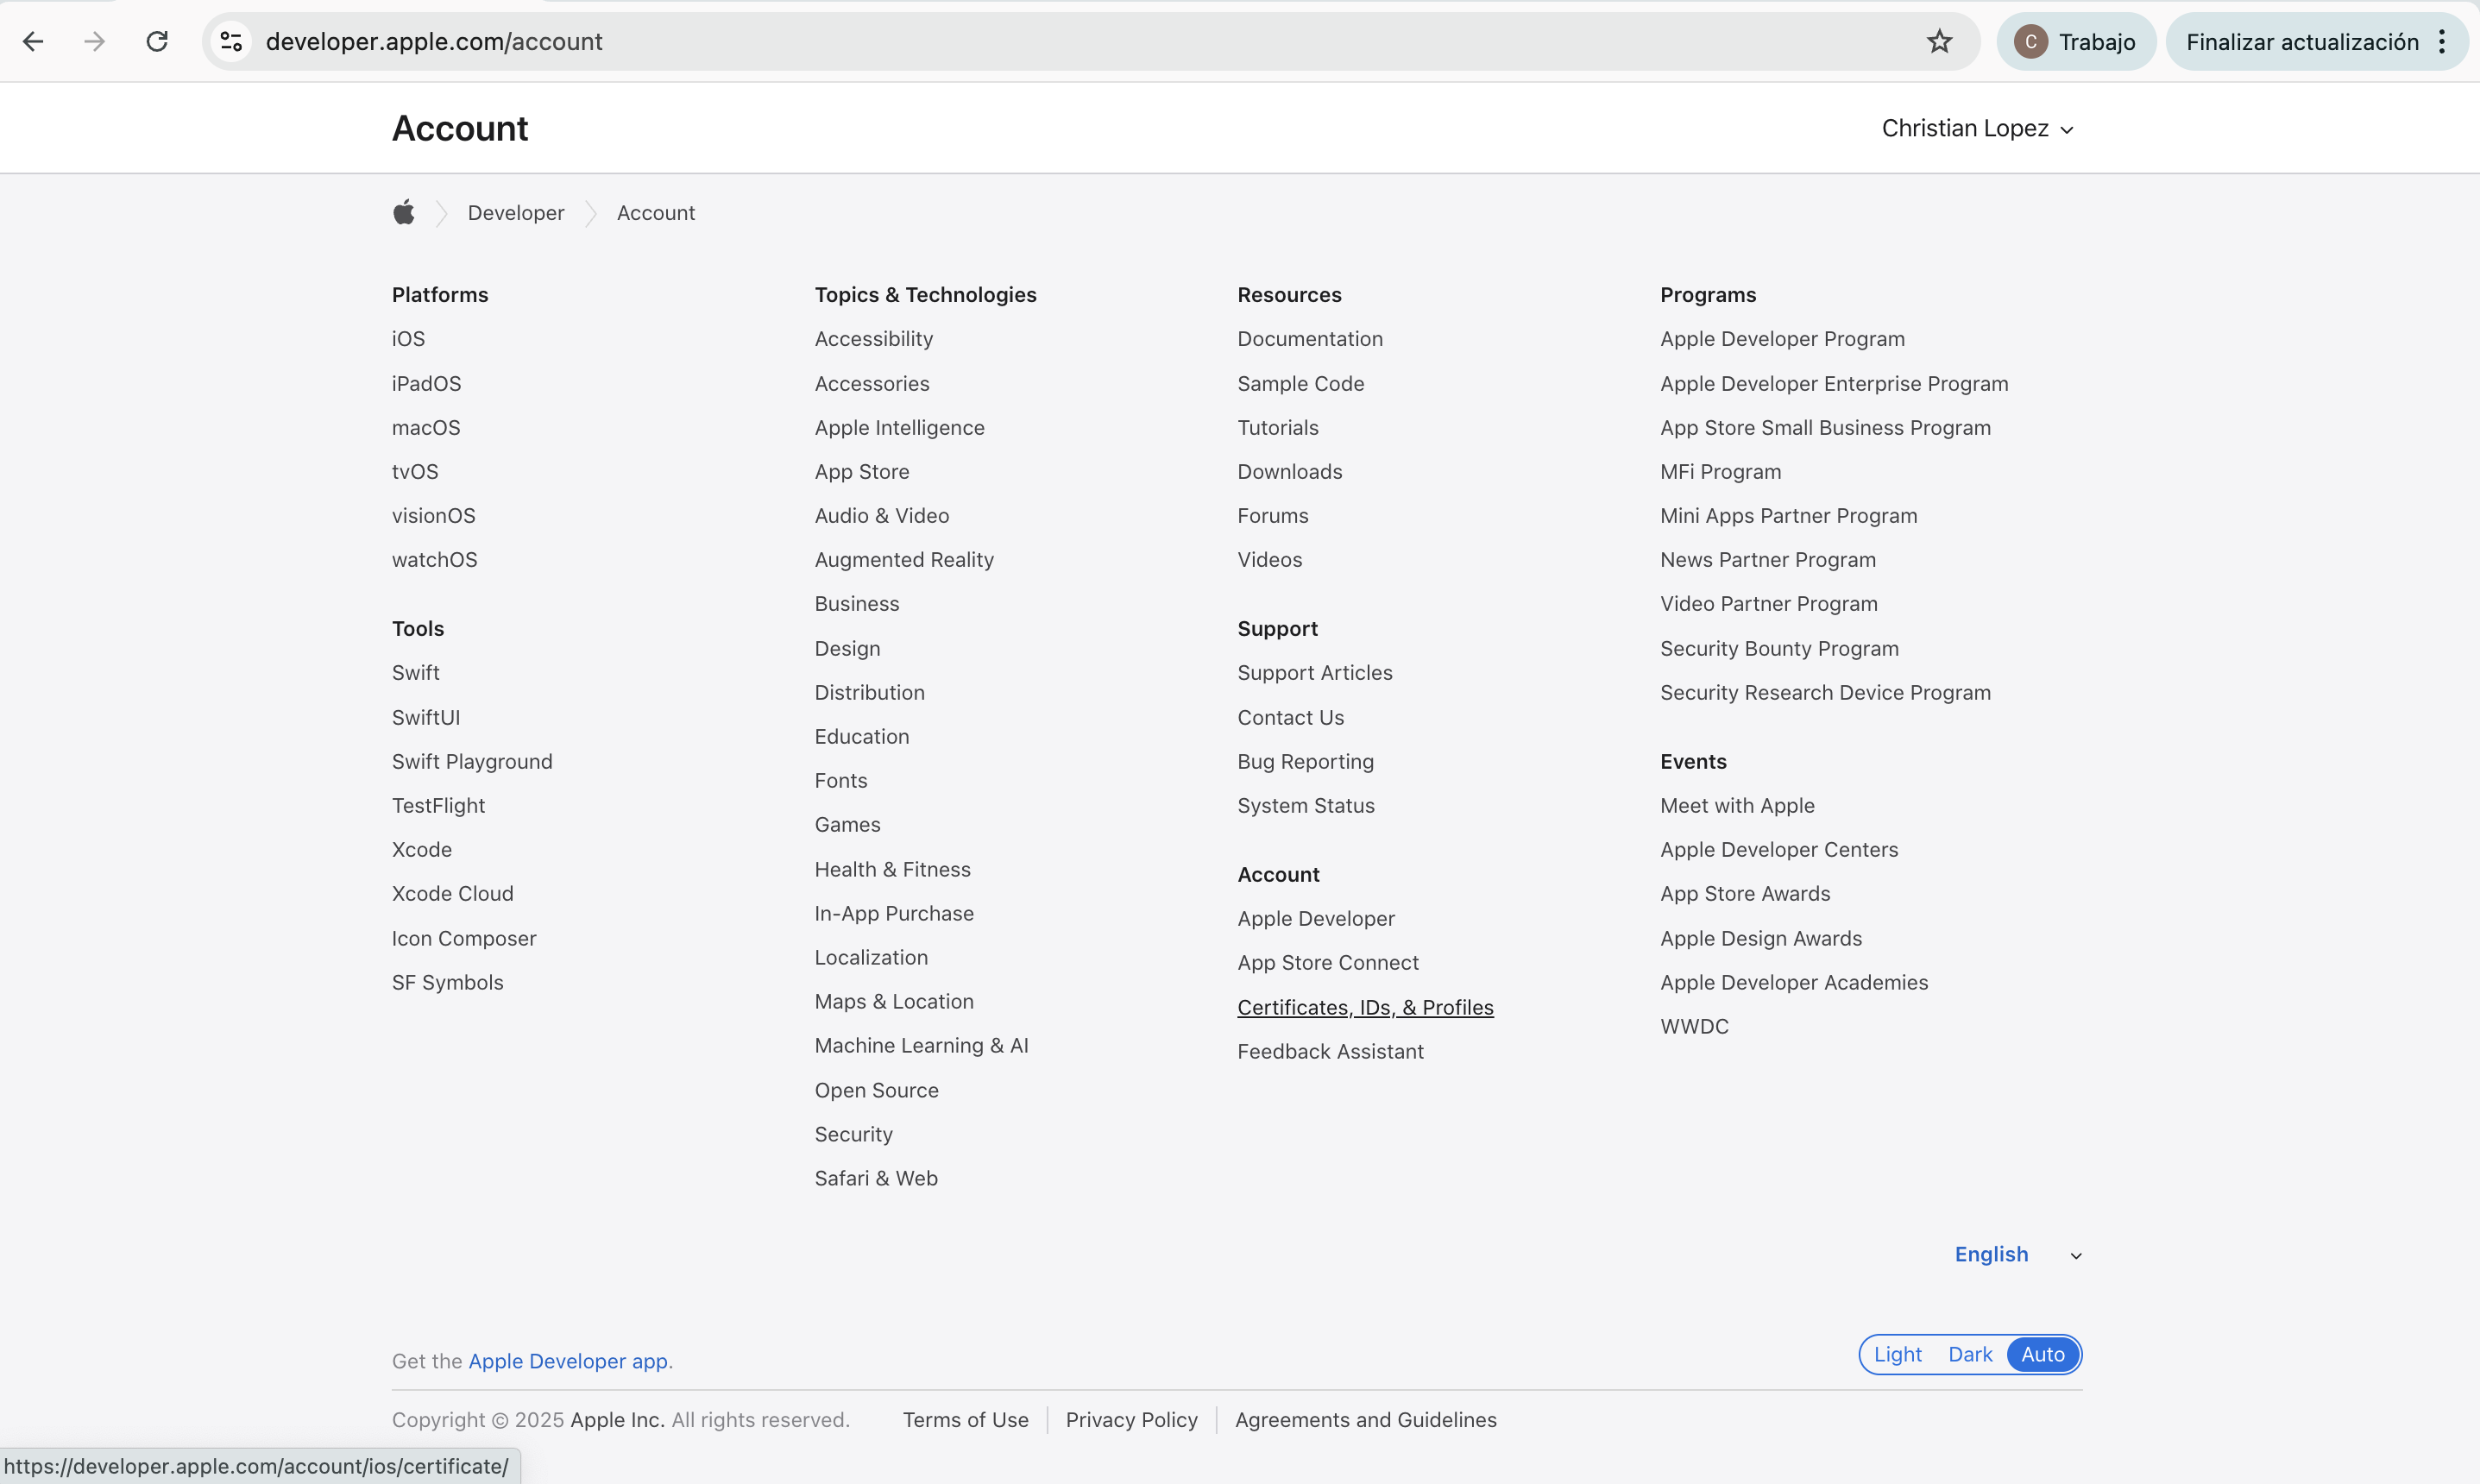
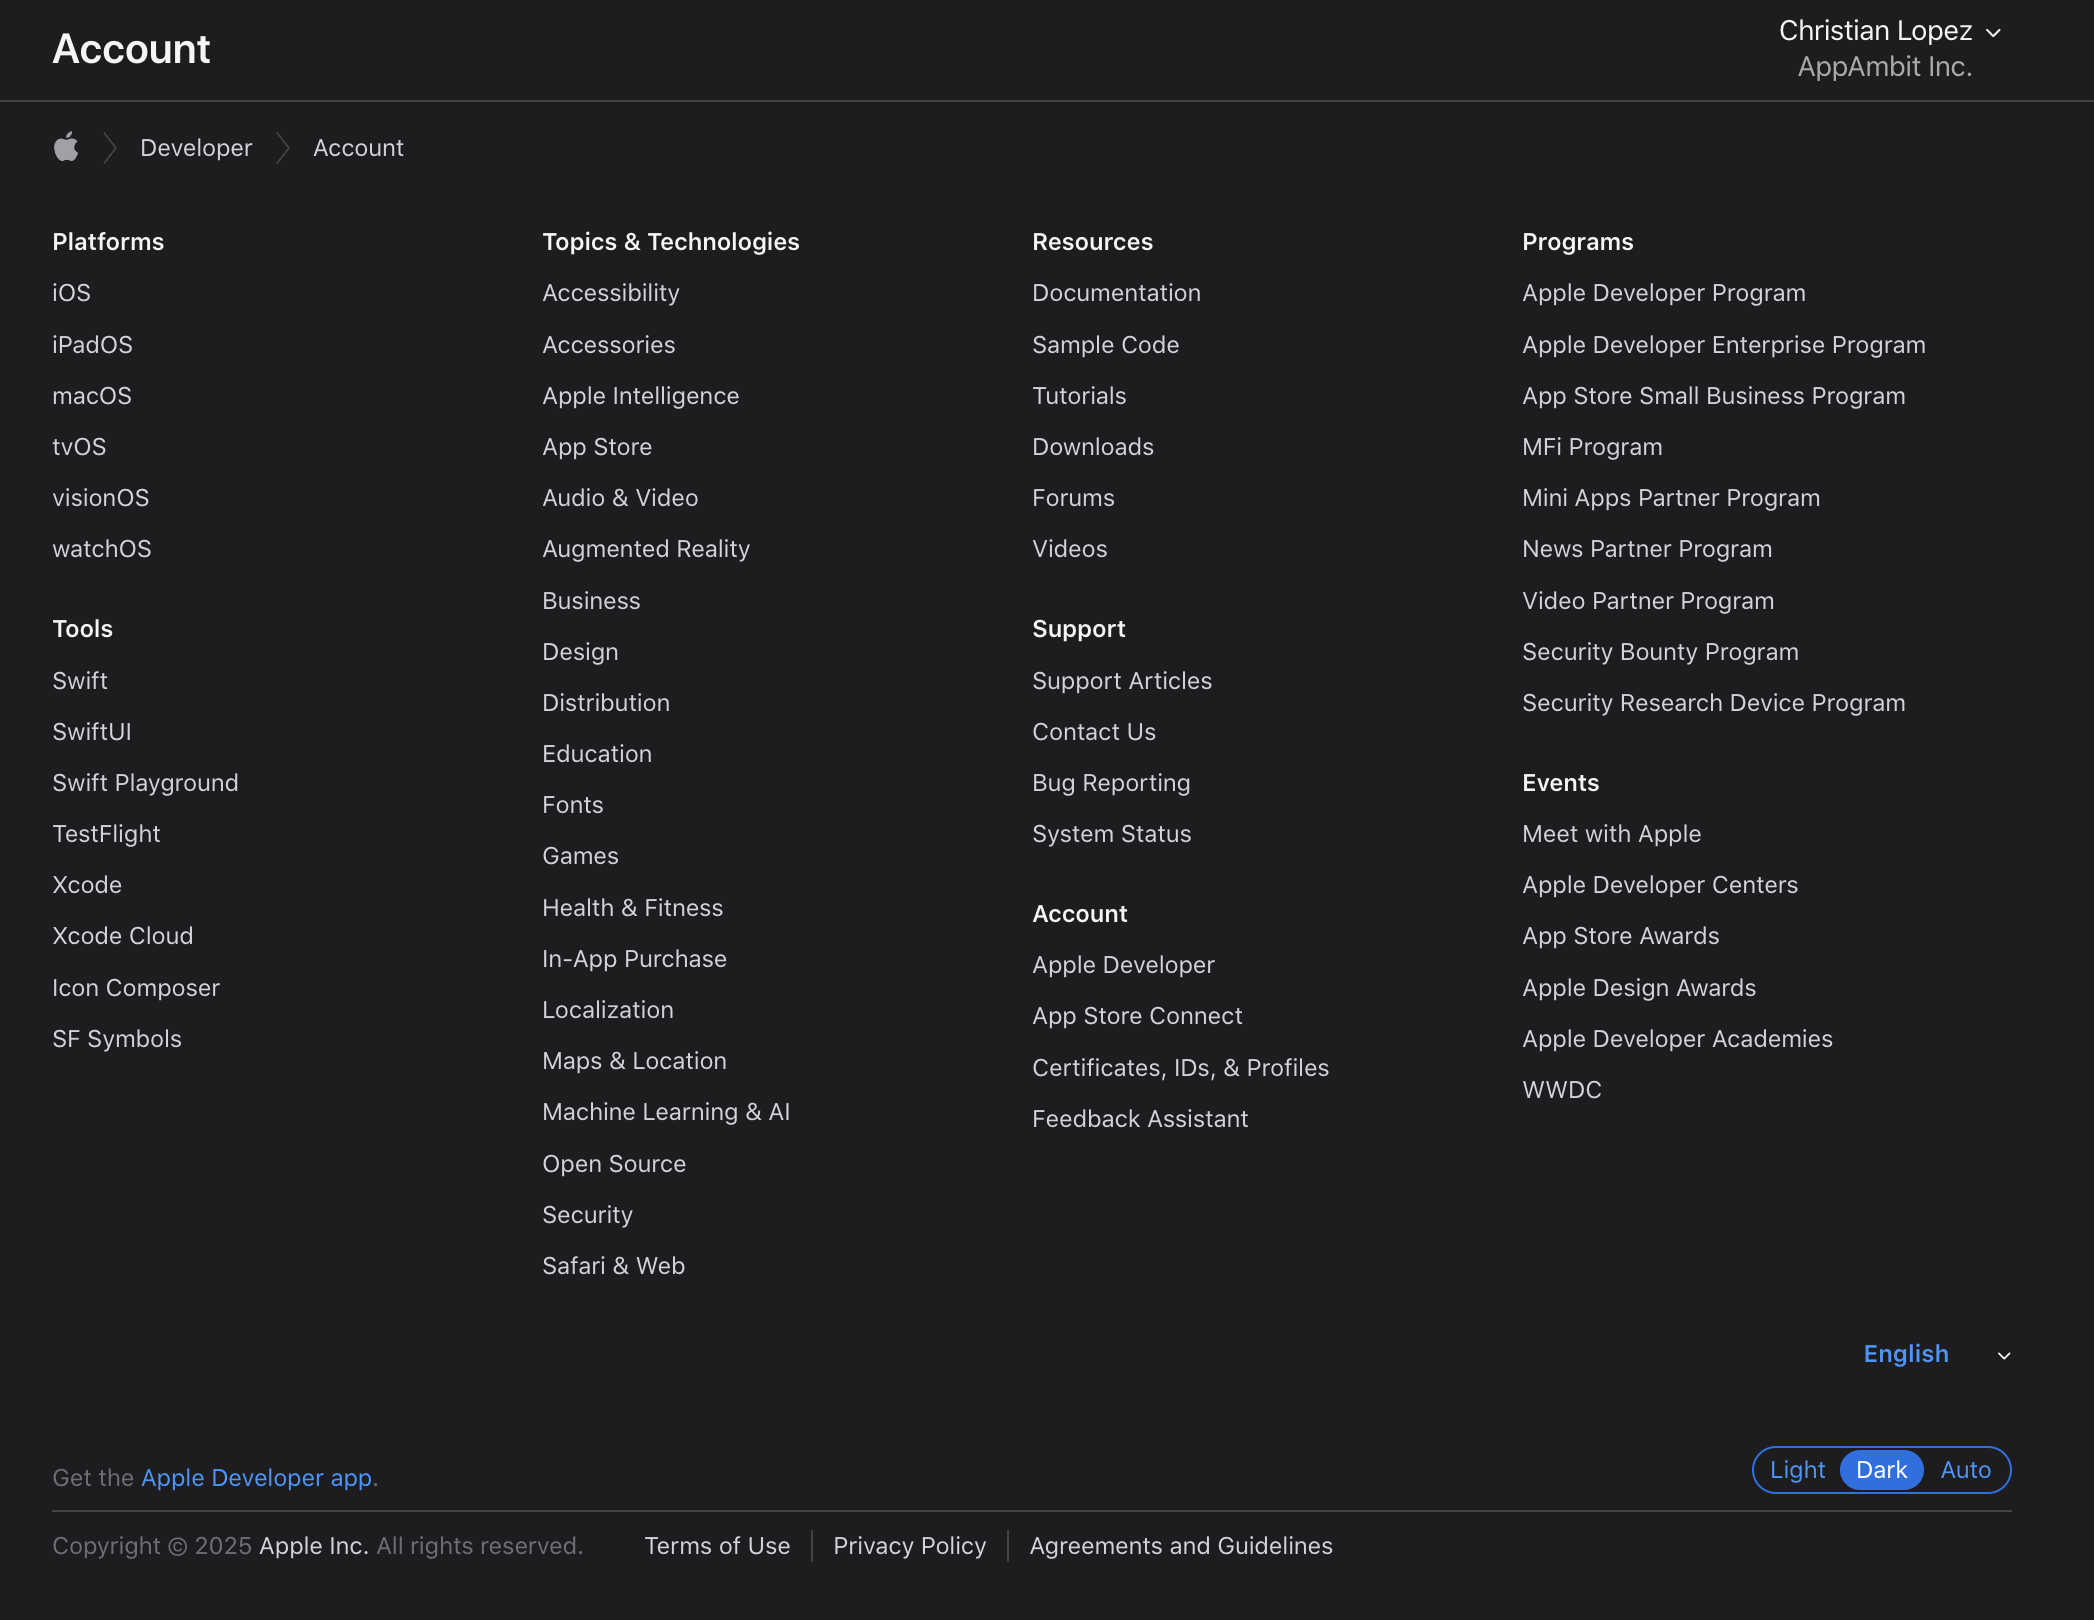
After signing in:
- Navigate to Certificates, Identifiers & Profiles from the main menu.
- This section allows you to manage all your app credentials, including push notification certificates and keys.
Step 3: Register Your App ID
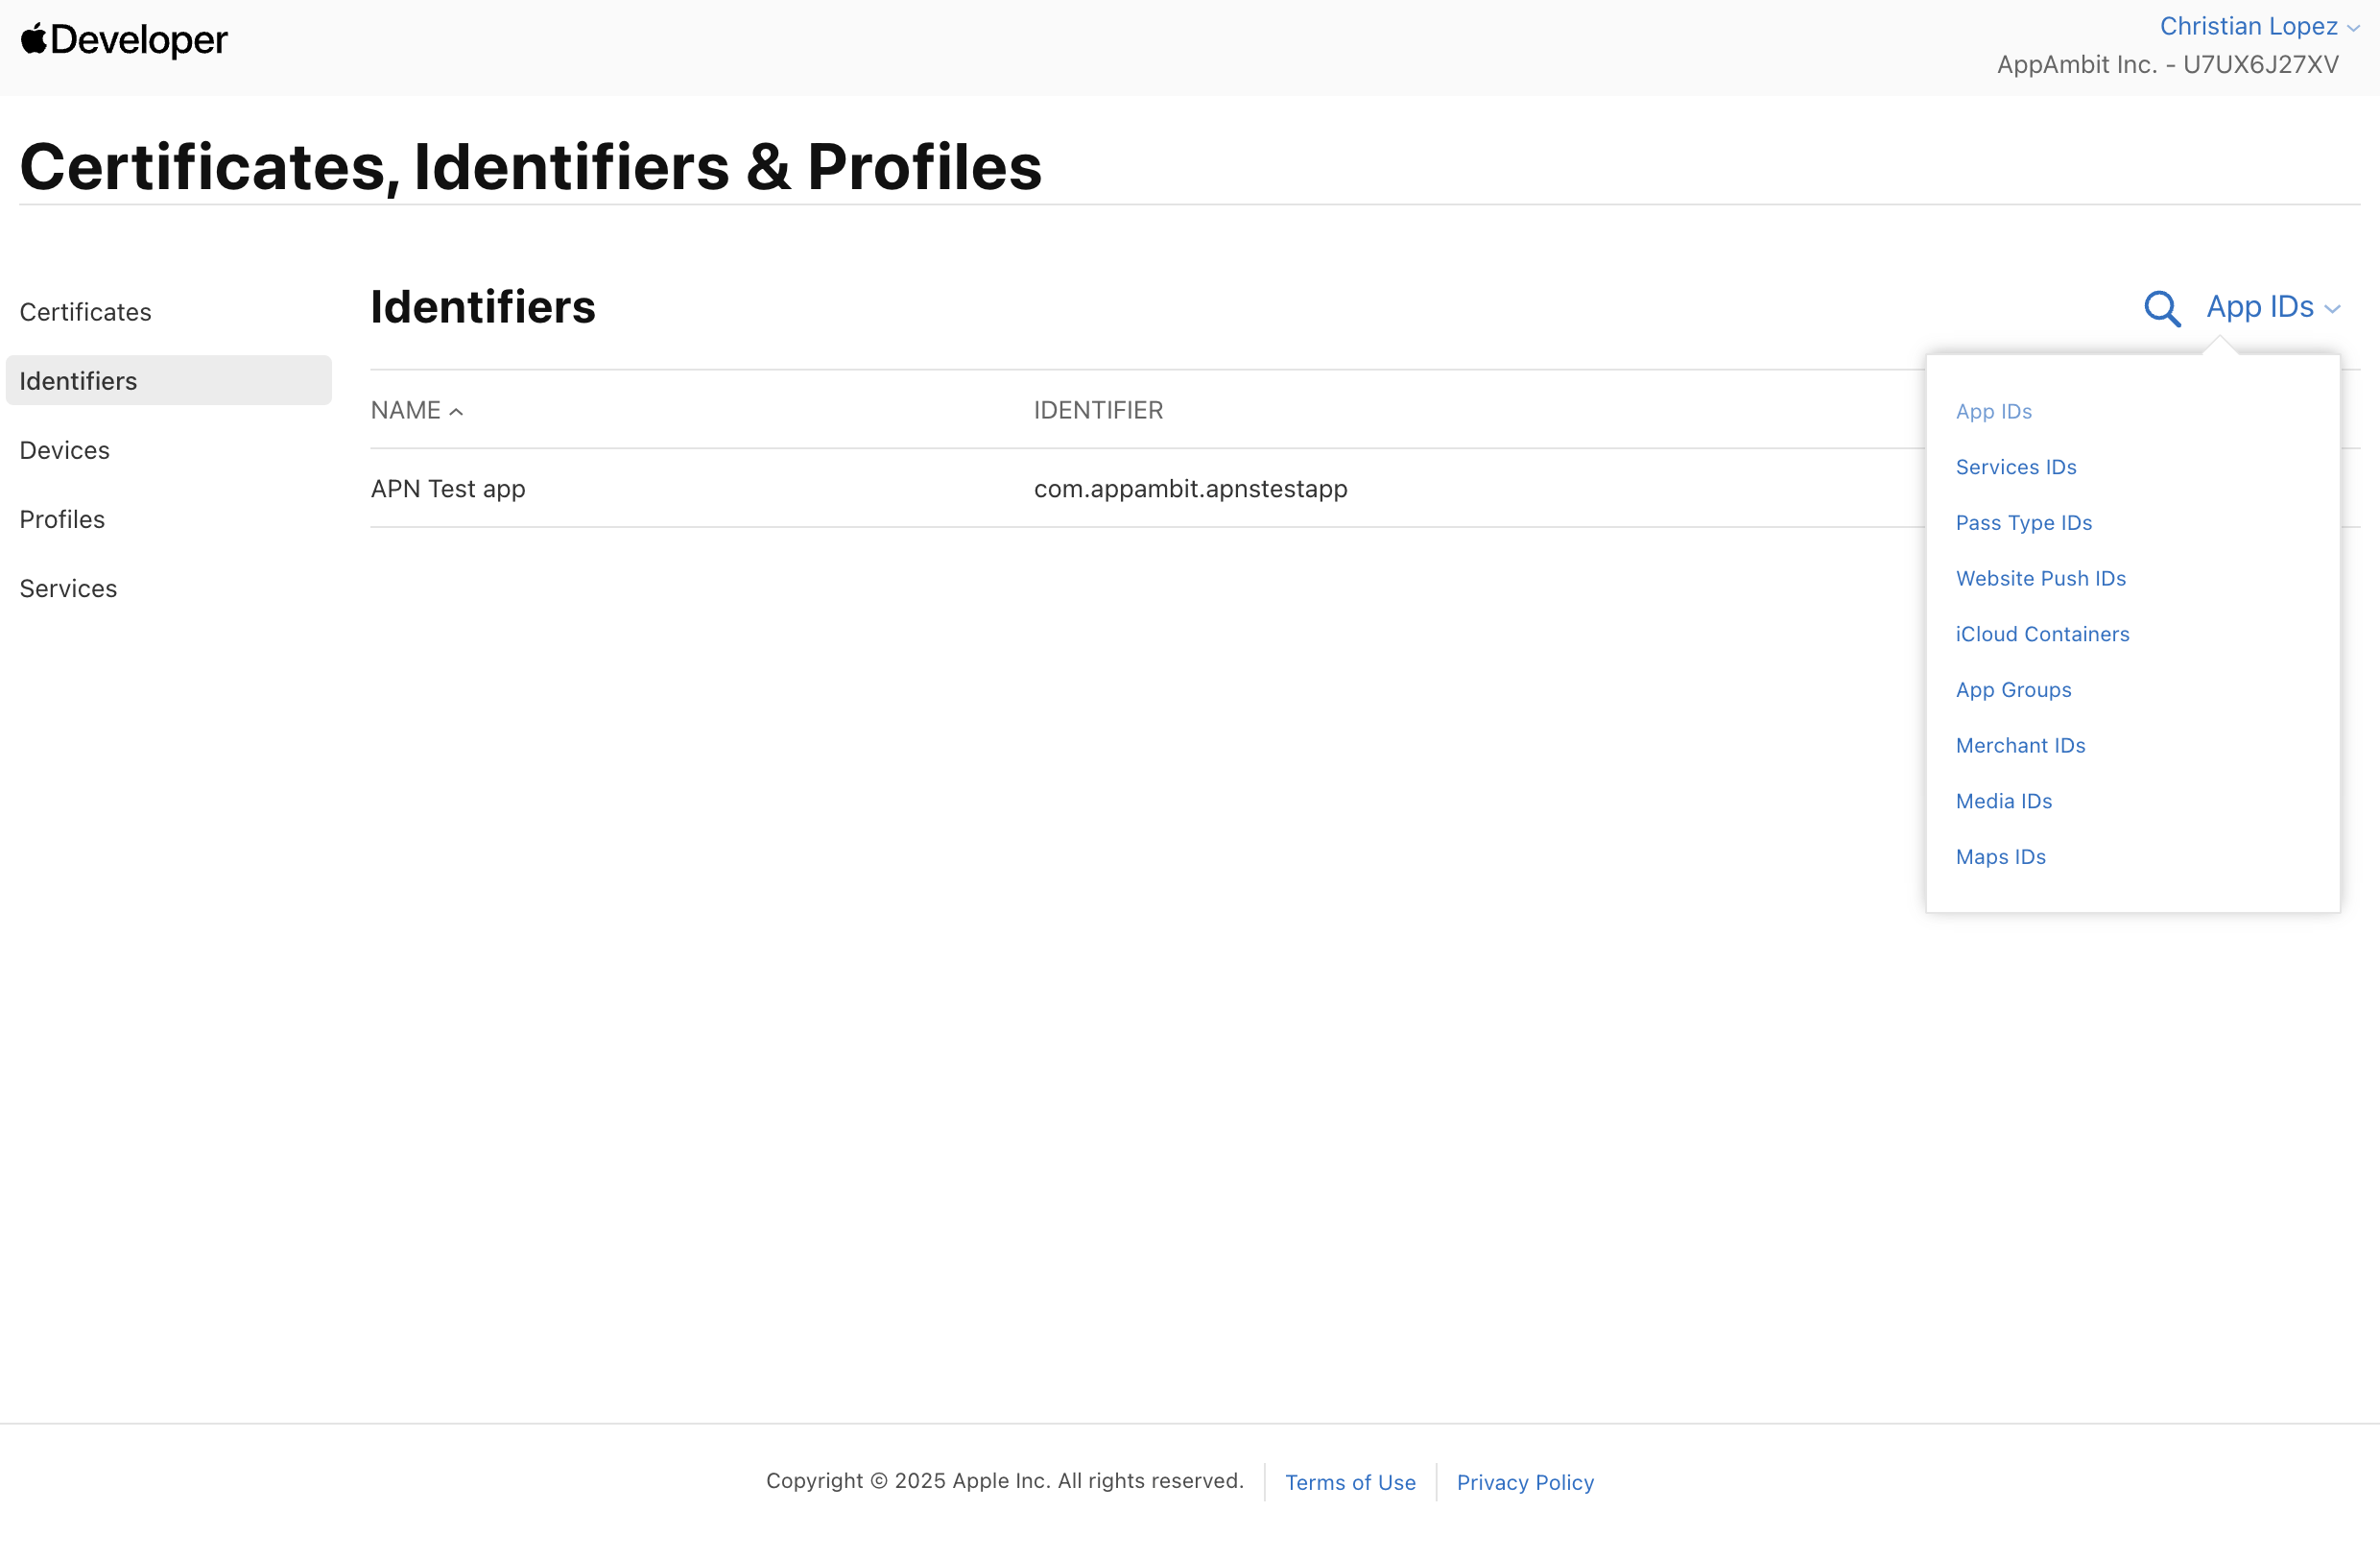
Before creating push notification credentials, you need to register your app:
- In the left sidebar, click Identifiers.
- Click the + button to add a new identifier.
- Select App IDs and click Continue.
- Fill in the required fields:
- Description (e.g., "My App")
- Bundle ID (e.g.,
com.yourcompany.yourapp) - Under Capabilities, enable Push Notifications.
- Click Continue and then Register.
Note
The Bundle ID must match exactly the one used in your iOS application.
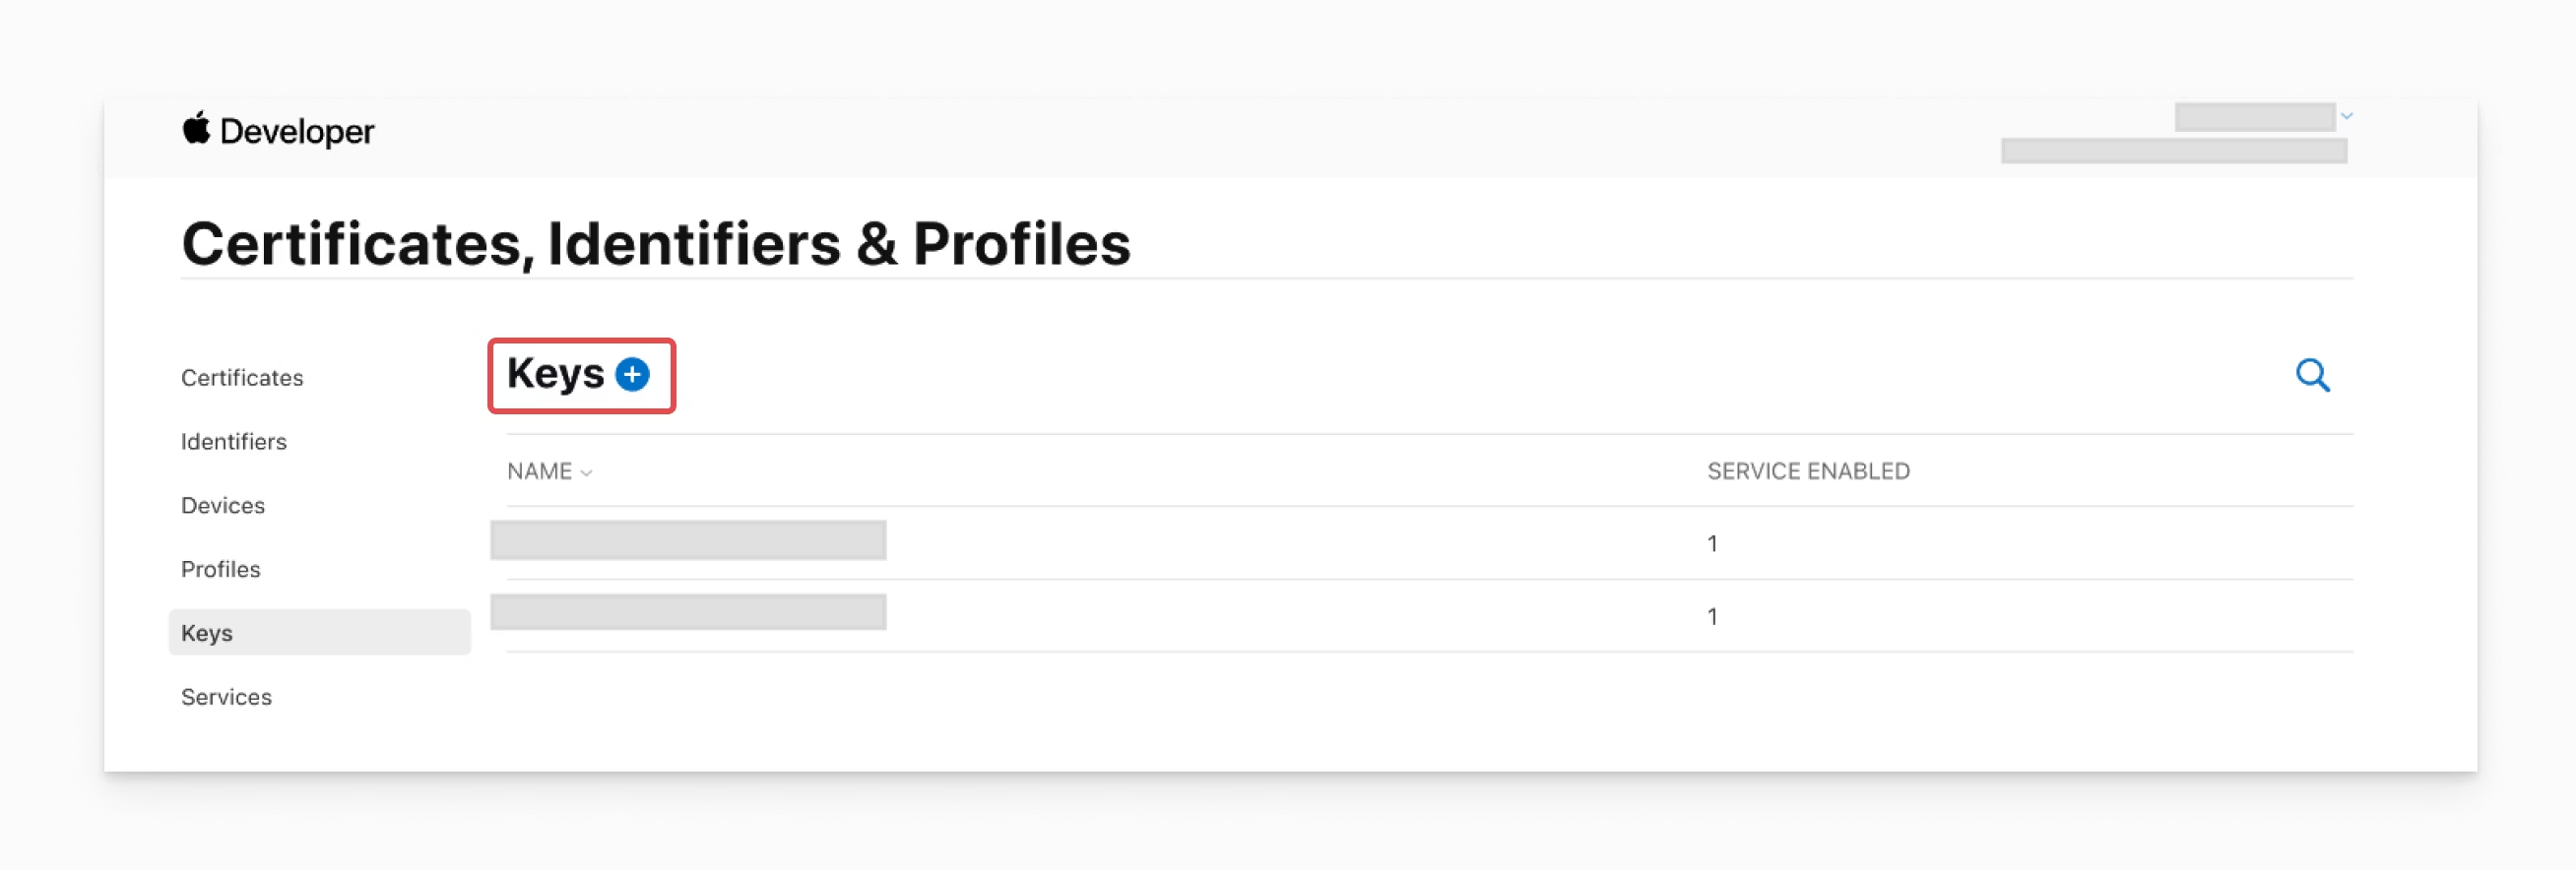
Step 4: Create an APNs Authentication Key
Apple recommends using token-based authentication with APNs, which is what AppAmbit requires.
- In the left sidebar, click Keys.
- Click the + button to create a new key.
- Enter a Key Name (e.g., "AppAmbit Push Notifications").
- Check the box for Apple Push Notifications service (APNs).
- Click Continue and then Register.
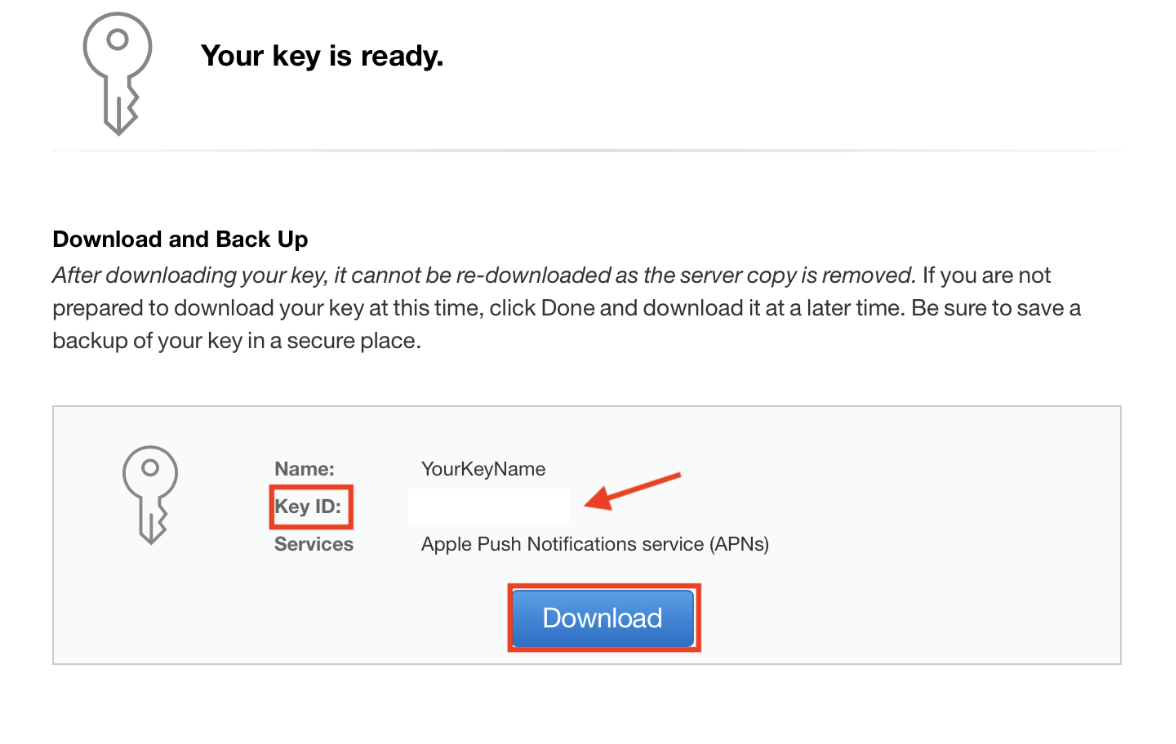
Step 5: Download the APNs Key File
After creating the key:
- Click Download to save the
.p8file to your computer. - Important: You can only download this file once. Store it securely.
- Take note of the Key ID displayed on the screen—you'll need it for AppAmbit configuration.
Warning
The .p8 file can only be downloaded once. If you lose it, you'll need to create a new key.
Step 6: Locate Your Team ID
You'll also need your Team ID to configure APNs in AppAmbit:
- Go to the Membership section in your Apple Developer account.
- Your Team ID is displayed at the top of the page.
- Copy this value—you'll use it along with the Key ID and
.p8file.
Next Step: Configure the Key in AppAmbit
Once you have your .p8 key file, Key ID, and Team ID:
👉 Continue to:
Set up credentials in AppAmbit
to upload your key and complete the final step of the integration.
Summary
You have now registered your iOS app, created an APNs authentication key, and gathered the required credentials (.p8 file, Key ID, and Team ID).
These credentials enable AppAmbit to authenticate securely with Apple's servers and deliver push notifications to your iOS users.
Continue to the setup guide to finish connecting AppAmbit with APNs.