Creating a Content Type
To start managing content, you first need to create a content that acts as a blueprint for your data.
-
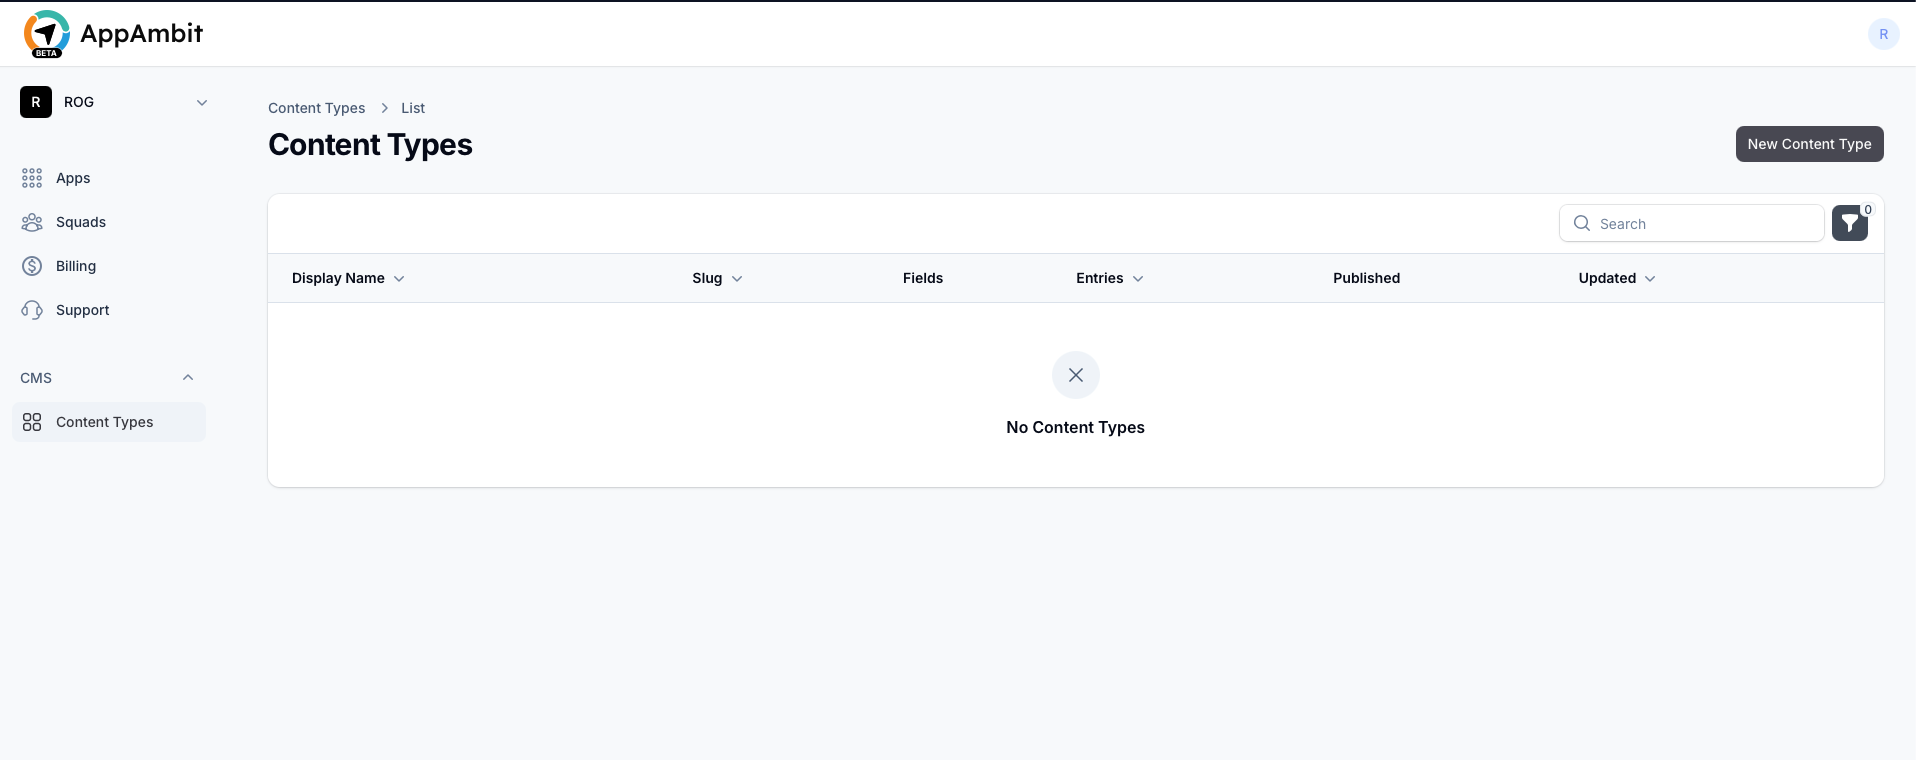
Navigate to the CMS section in the left-hand menu of your AppAmbit dashboard.
-
Click the New Content Type button.
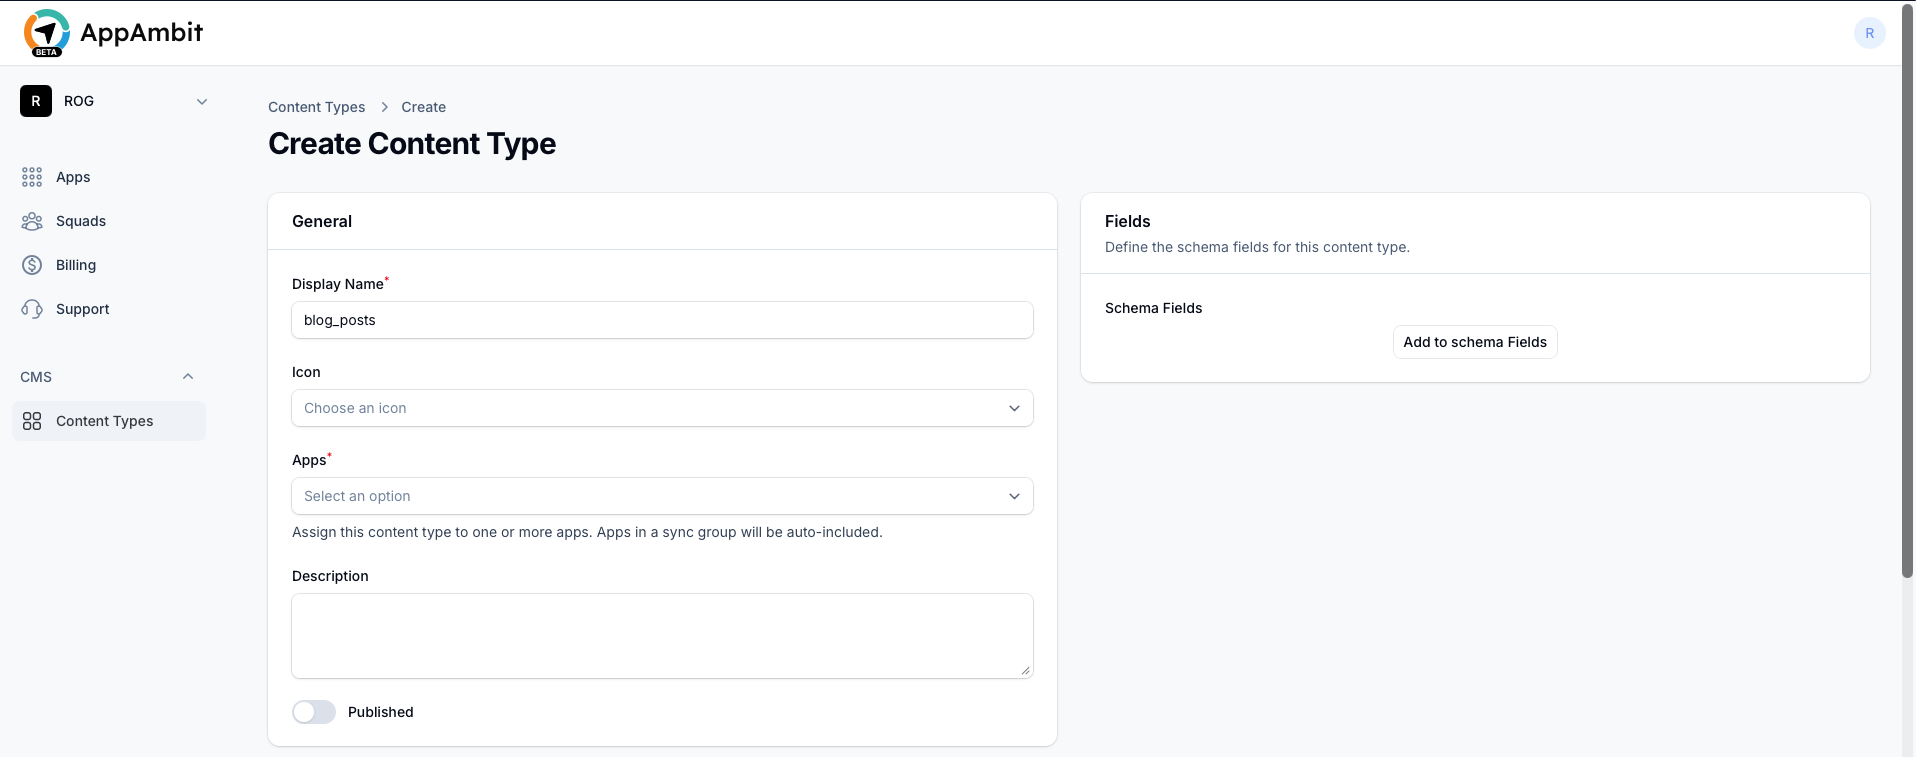

1. General Information
The General section defines the basic identity and availability of your content type.
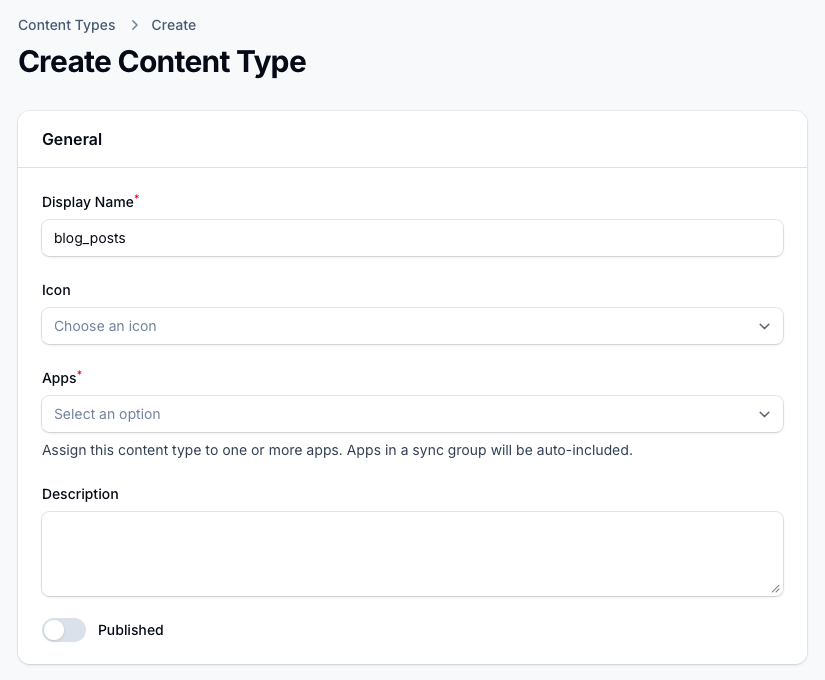
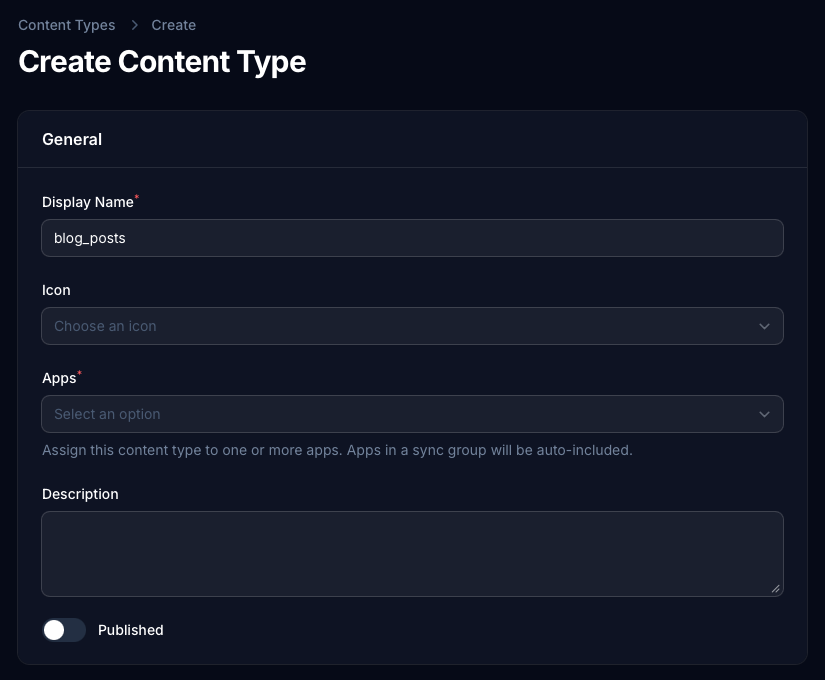
- Display Name: Enter the name of your content (e.g.,
blog_posts). Tip: Use lowercase with underscores. This exact name will be used in your SDK code to query the data. - Icon: Choose an icon to visually identify this content type in your dashboard.
- Apps: Assign this content type to one or more of your apps. Apps within a sync group will be automatically included.
- Description: An optional internal note explaining what this content type is used for.
- Published: Toggle to make this content type active and queryable via the SDK.
2. Schema Fields
Click Add to schema Fields.
The Fields section defines the structure of your content. Each document you create later will follow this schema.


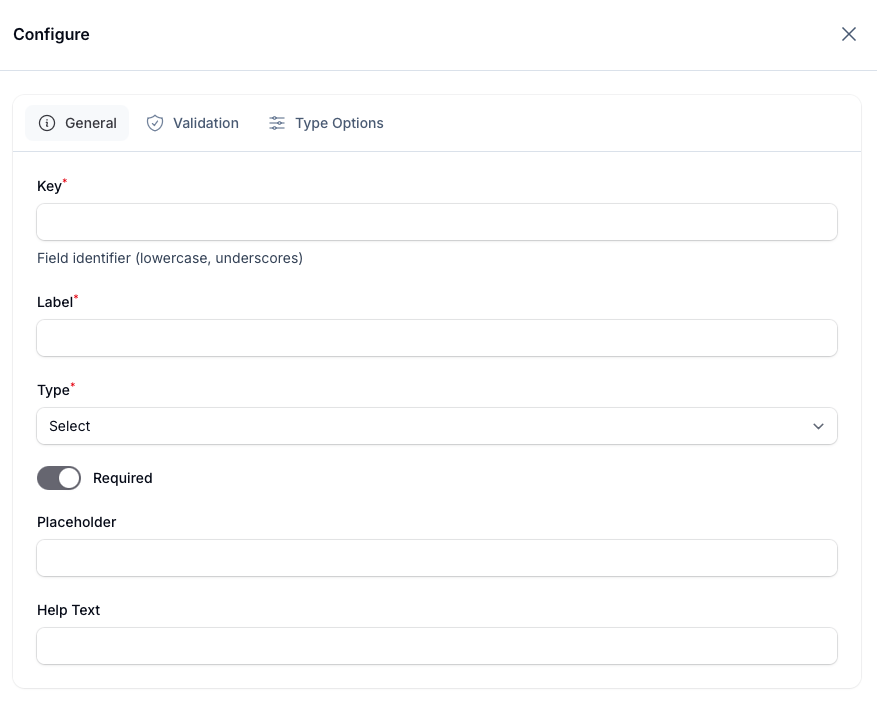
You will see three configuration tabs for each field clicking on the gear icon: General, Validation, and Type Options.
General
The General tab contains the essential attributes for your field:
- Key: The strict identifier (e.g.,
featured_image). Make sure this matches the property name mapping in your application's SDK (@JsonProperty,CodingKeys, etc.). - Label: The human-readable name displayed in the dashboard when editing documents.
- Type: Select the data type for your field. Supported types include:
Text,Rich Text,Number,Boolean,Date,Date & Time,Email,URL,Select,Media,Relation, andJSON. - Required: Toggle this if the field must be filled out before saving a document.
- Placeholder: A short hint that describes the expected value of the input field.
- Help Text: Additional descriptive text to assist content editors.
Validation
The Validation tab allows you to enforce rules on the data entered by content editors. The available rules vary depending on the chosen Type. For example, text fields can have minimum and maximum length constraints, while number fields can be restricted to specific ranges.
Type Options
The Type Options tab contains specific configurations unique to the selected Type. For example, if you chose the Select type, this is where you define the available choices for the dropdown. For Relation types, you will specify which Content Type the relation links to.
3. Settings
The Settings section allows you to configure how this content behaves when returned via the API.
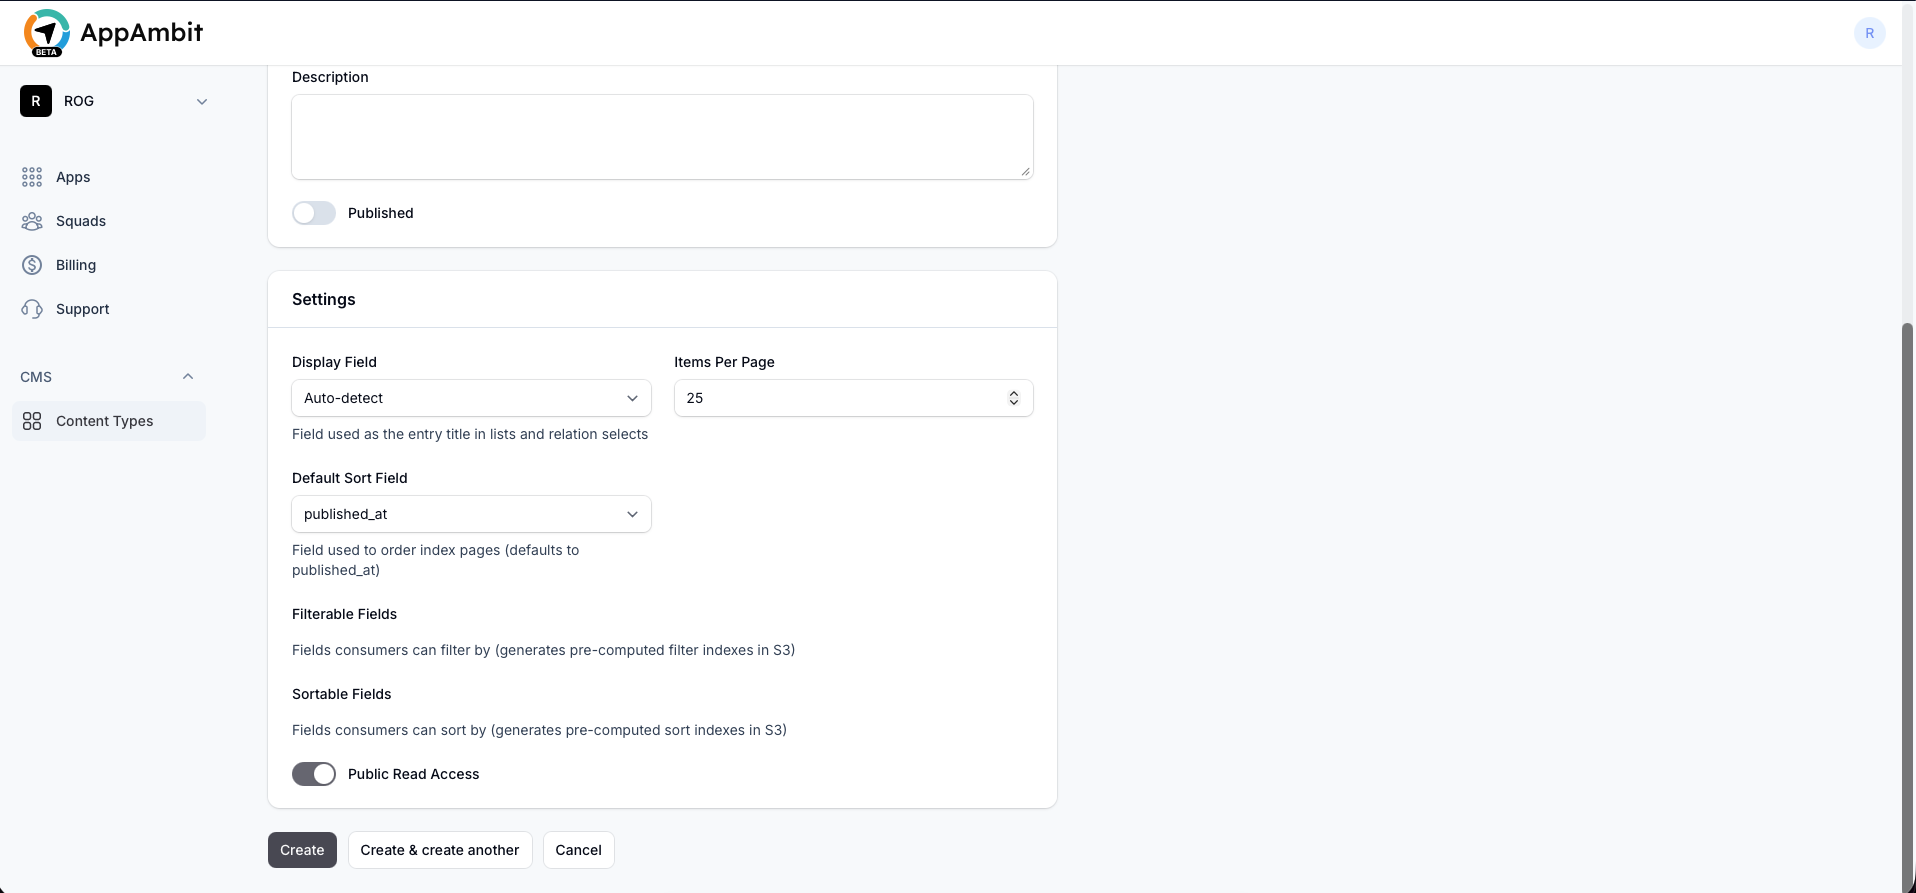
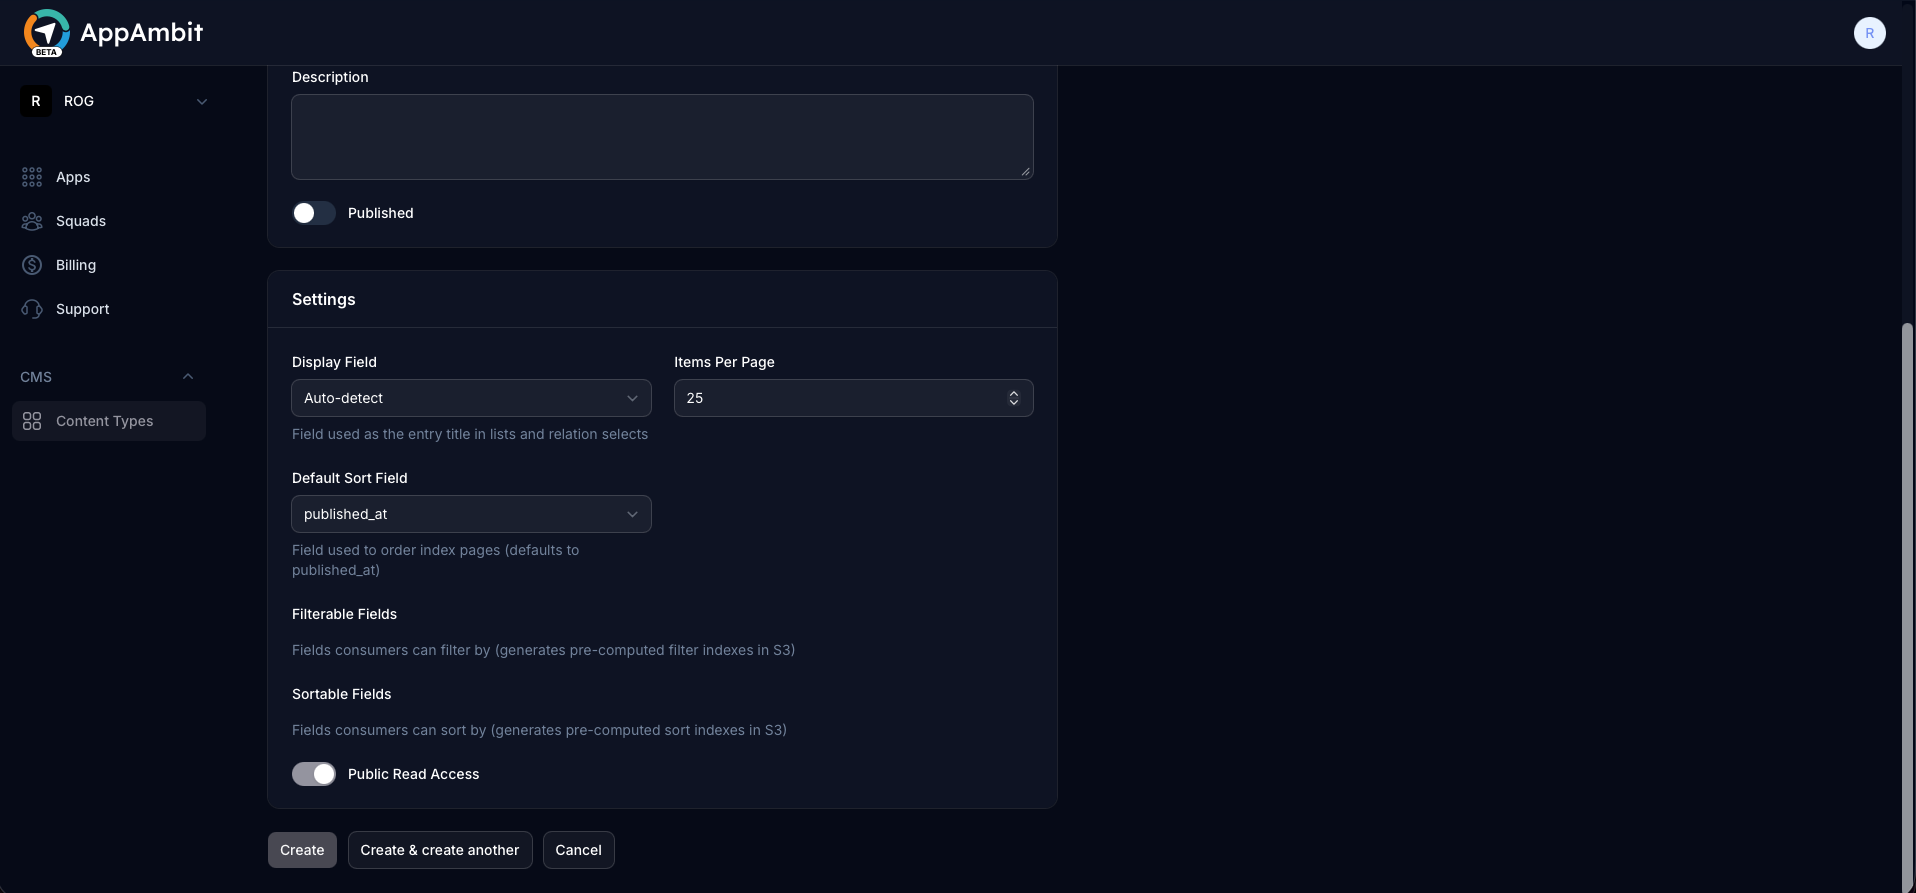
- Display Field: The main field used as the entry title in lists and relation selects (e.g.,
title). You can leave it as Auto-detect. - Items Per Page: The default number of documents returned per pagination query.
- Default Sort Field: The field used to order index pages by default (e.g.,
published_at). - Filterable Fields: Select which fields consumers can filter by. Note: Doing this generates pre-computed filter indexes to ensure blazing-fast queries.
- Sortable Fields: Select which fields consumers can sort by (generates pre-computed sort indexes).
- Public Read Access: Enable this so your apps can freely fetch this content type without requiring user-level authentication.
Once everything is configured, click Create at the bottom to finalize your new Content Type.
Next Steps
Now that you have defined a Content Type, you can start populating it with data.
-
Creating an Entry
Learn how to add, edit, delete, and publish, draft or archive entries from the dashboard.