Creating an Entry
Once your Content Type is created, you can start adding data.
Adding an Entry
To add a new entry to your Content Type, you'll need to navigate to the specific App where it's being used.
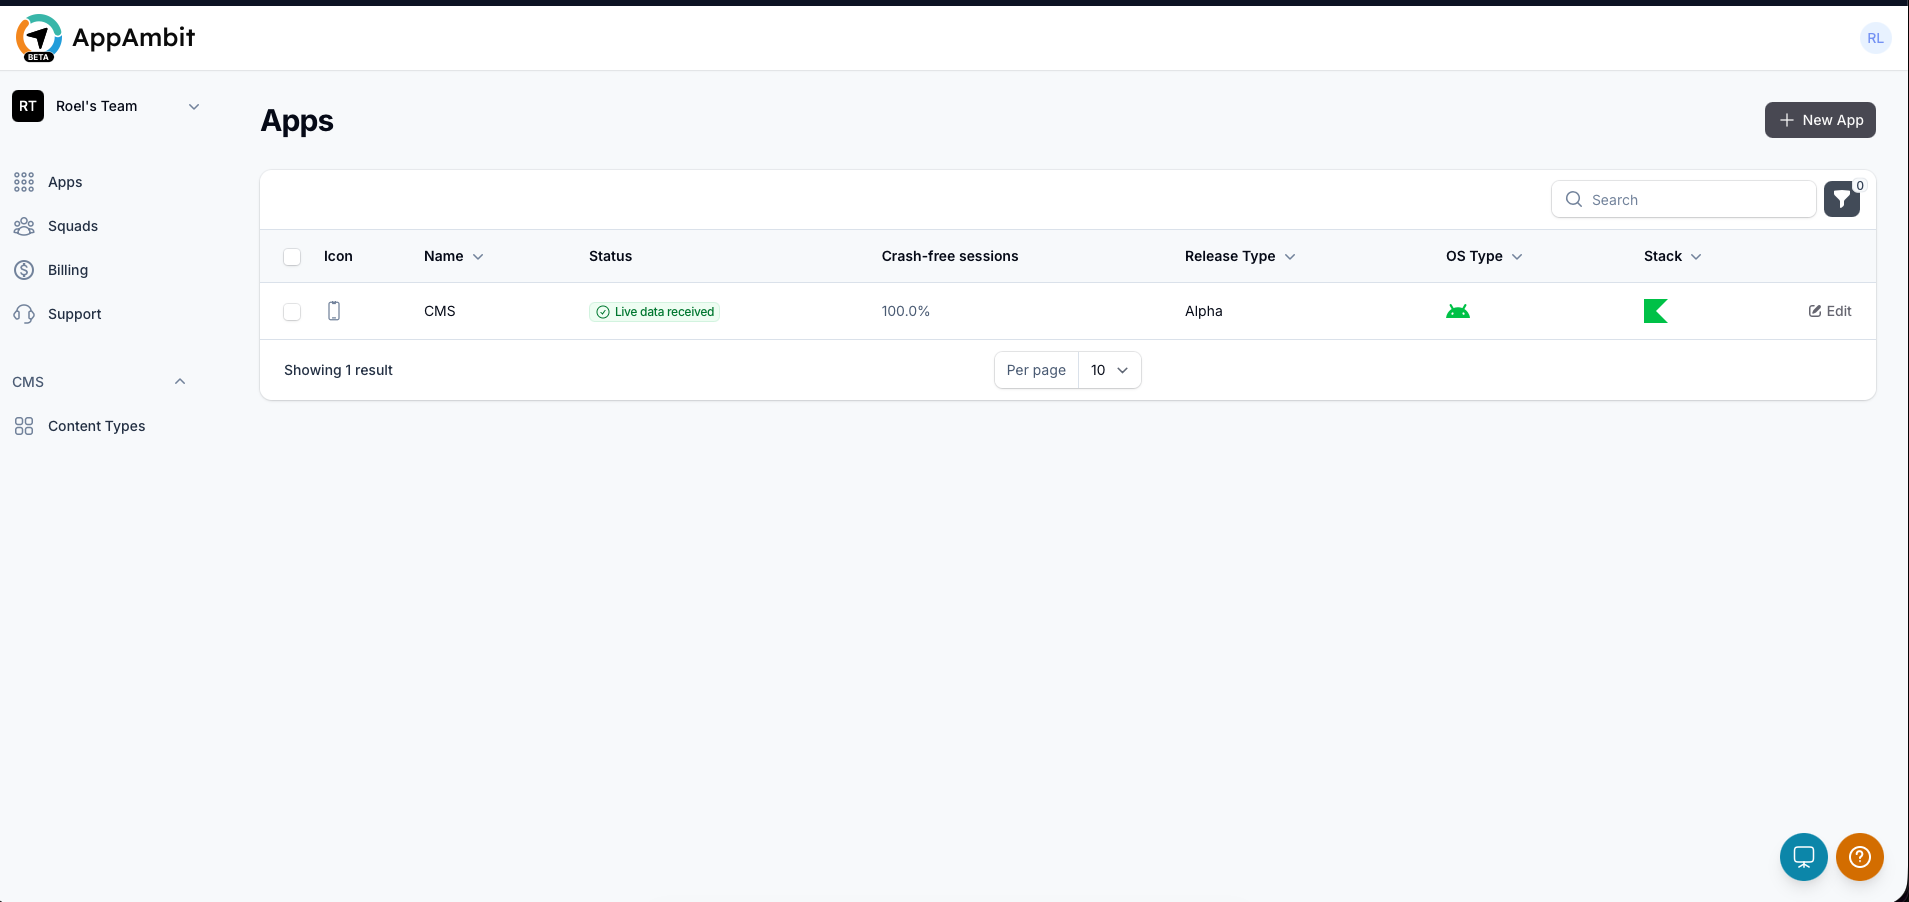
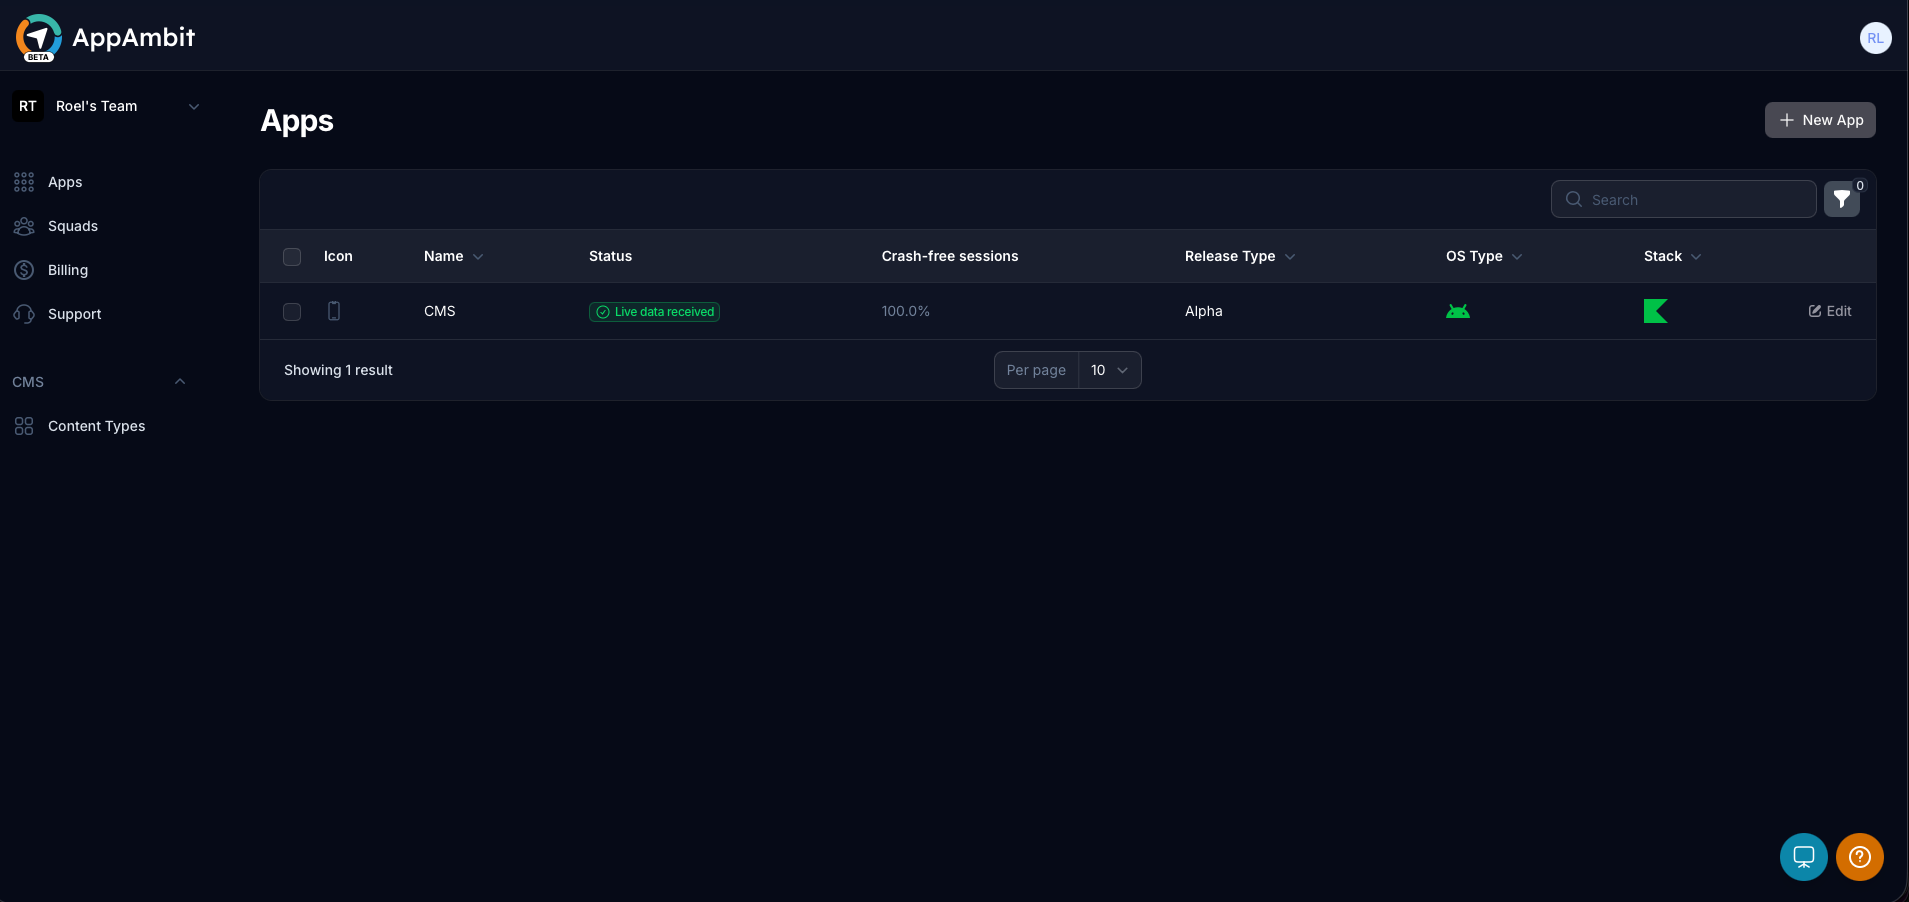
1. Select your App
Navigate to the Apps section in the left-hand menu and select the application where you want to add content.
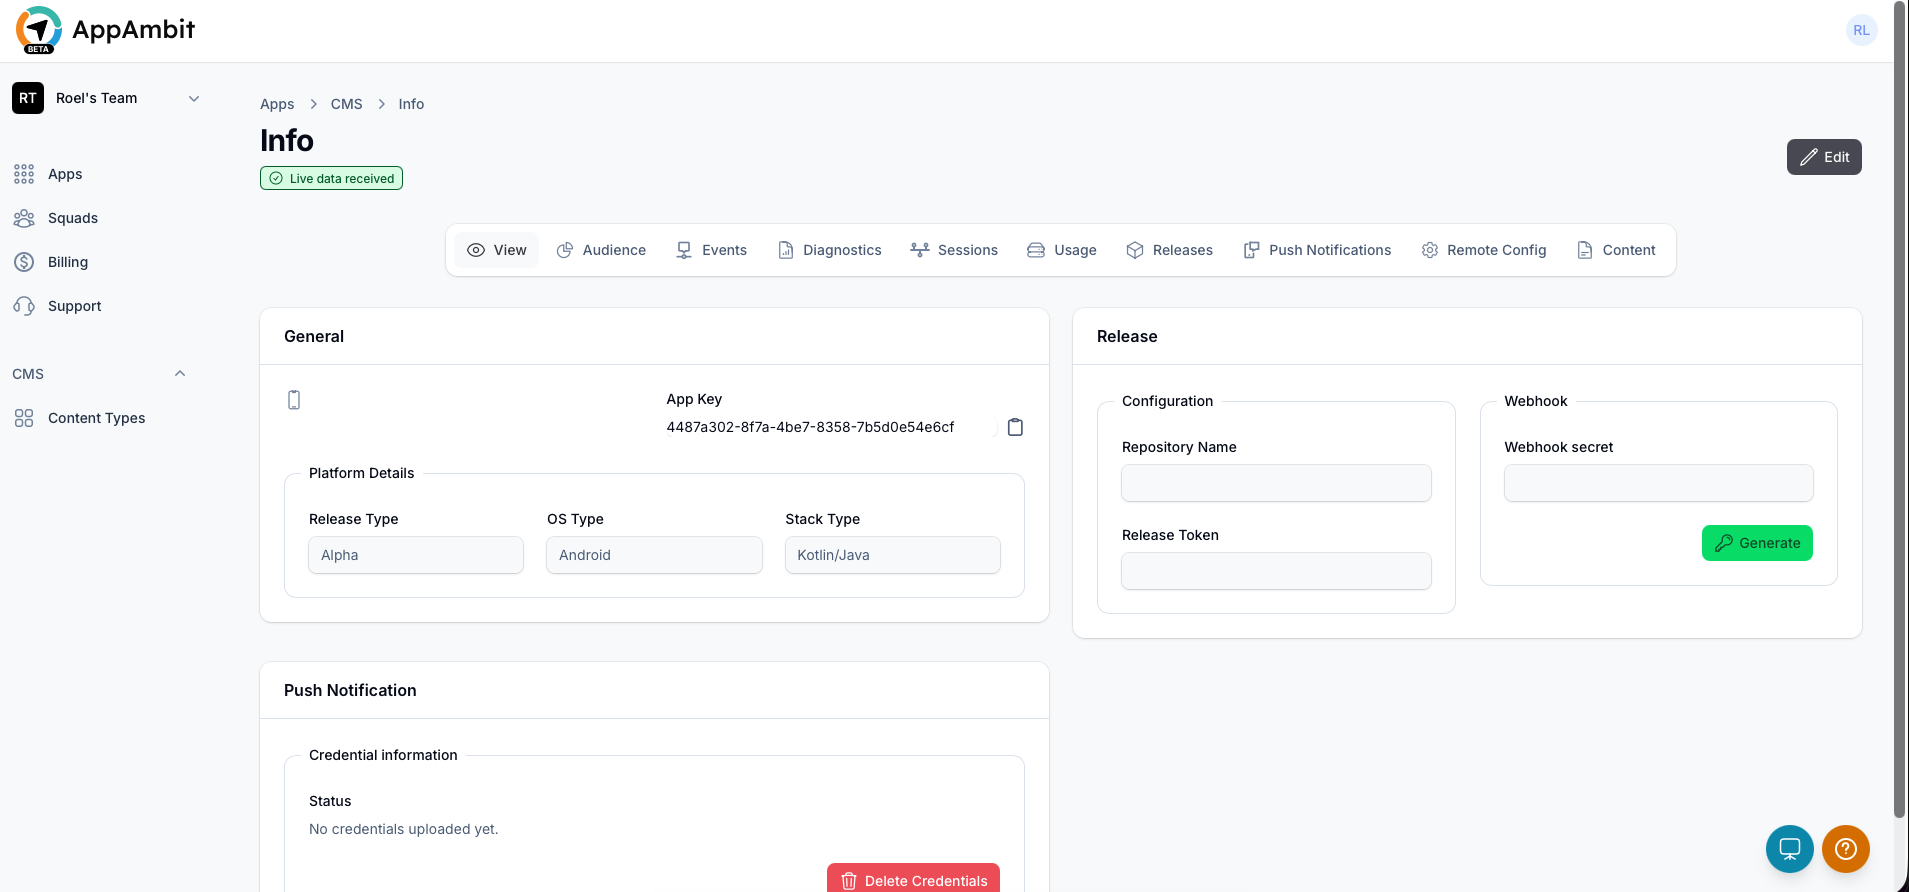
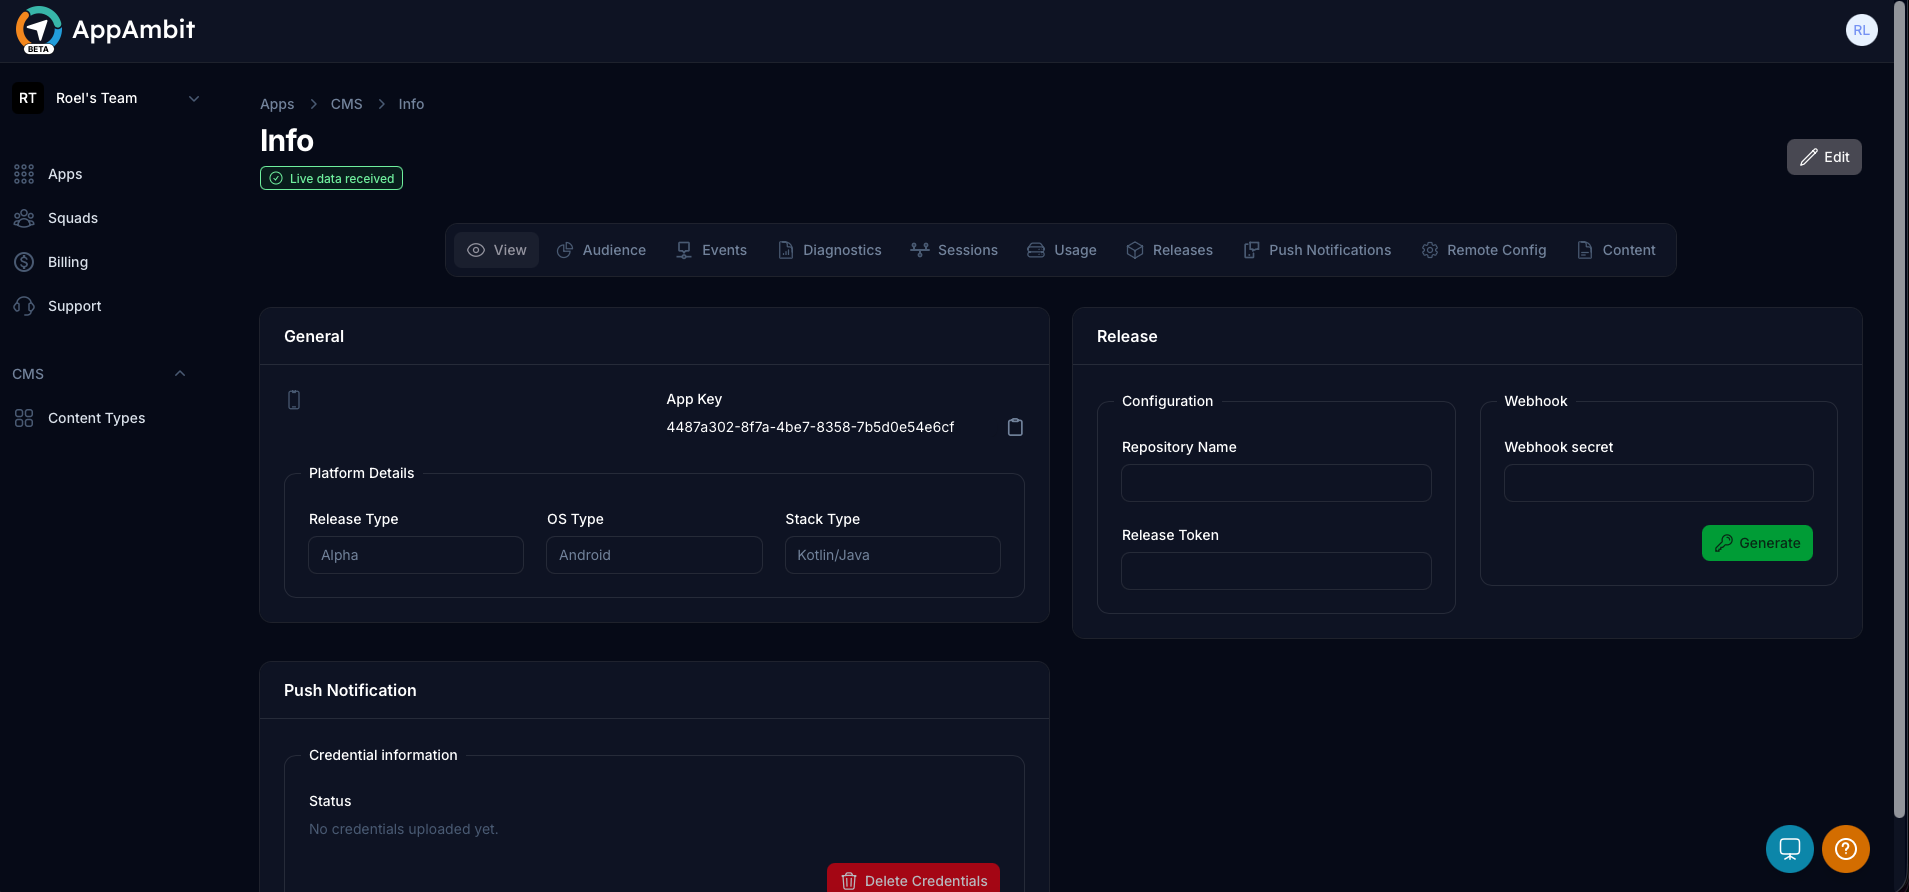
2. Go to the Content Tab
Inside your App's dashboard, click on the Content tab located in the top navigation menu.
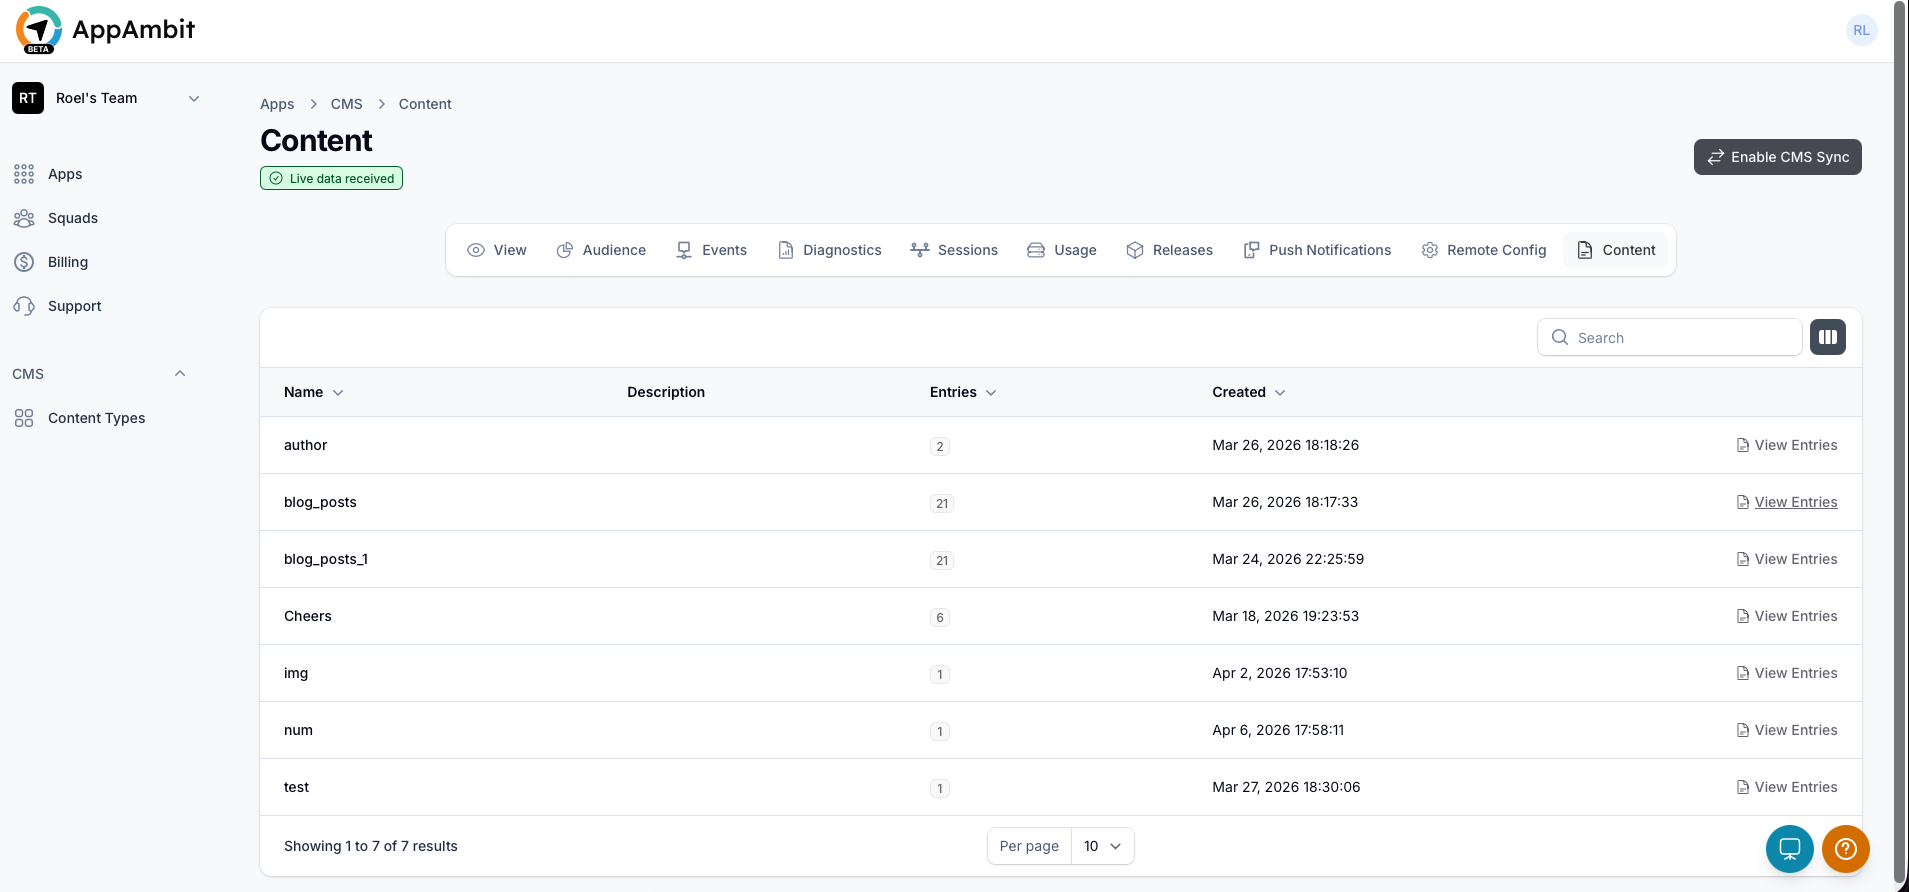
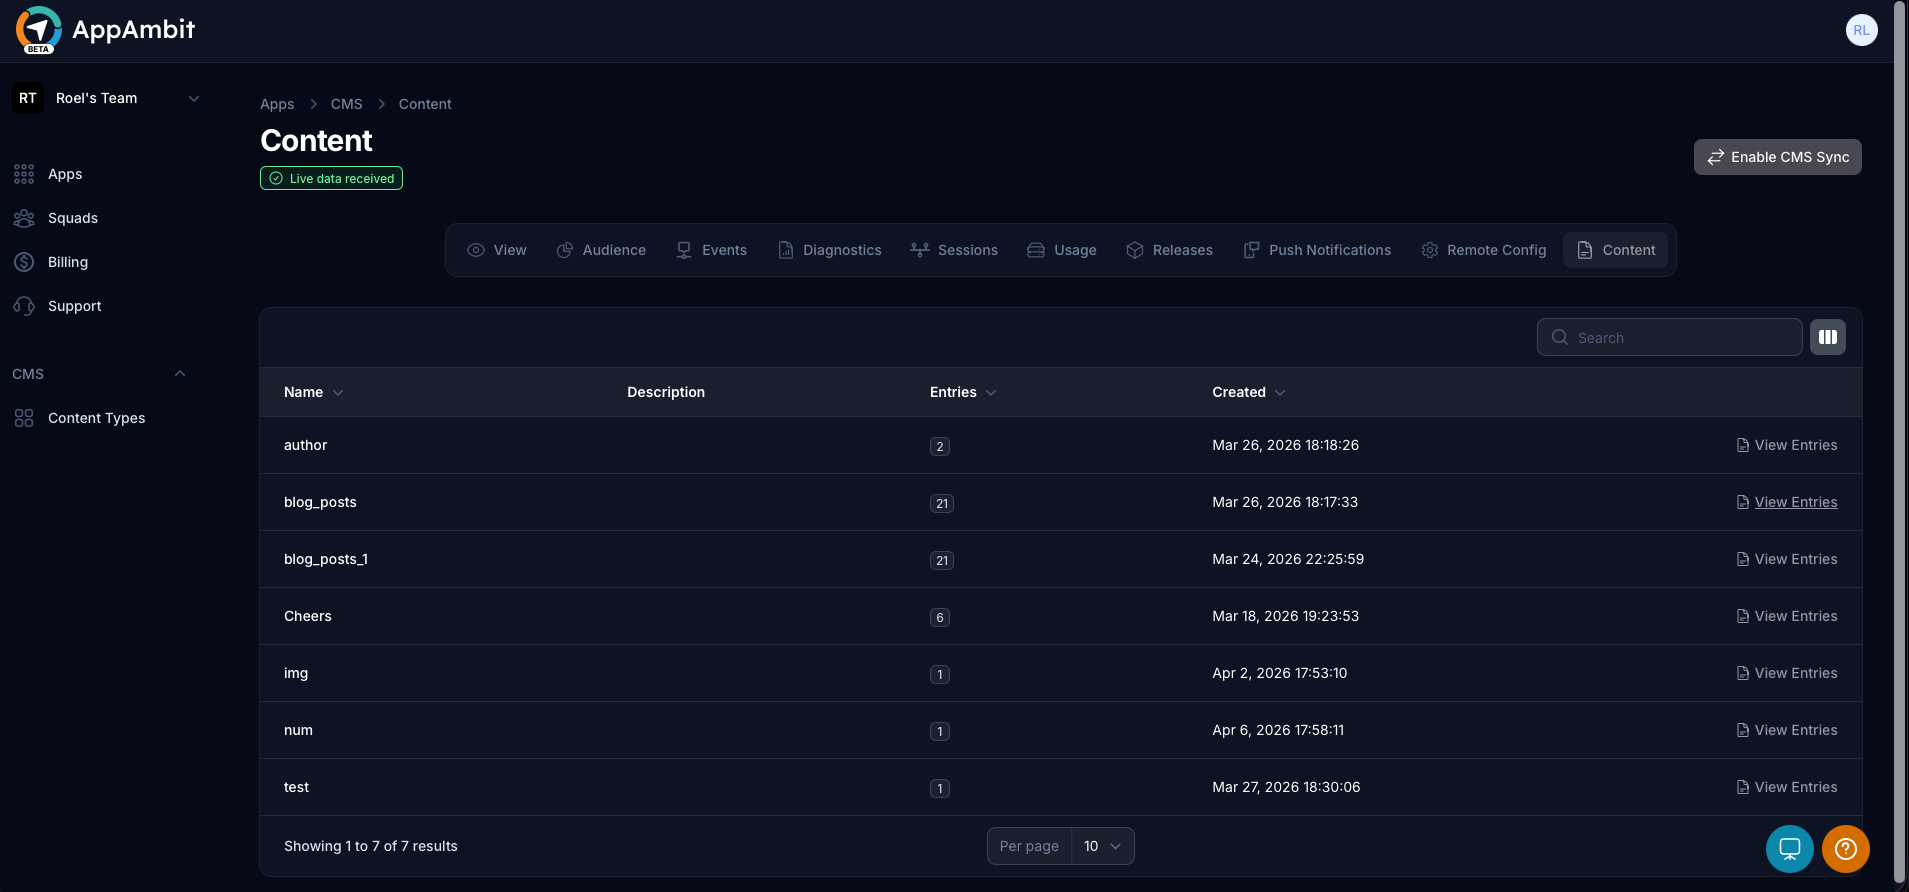
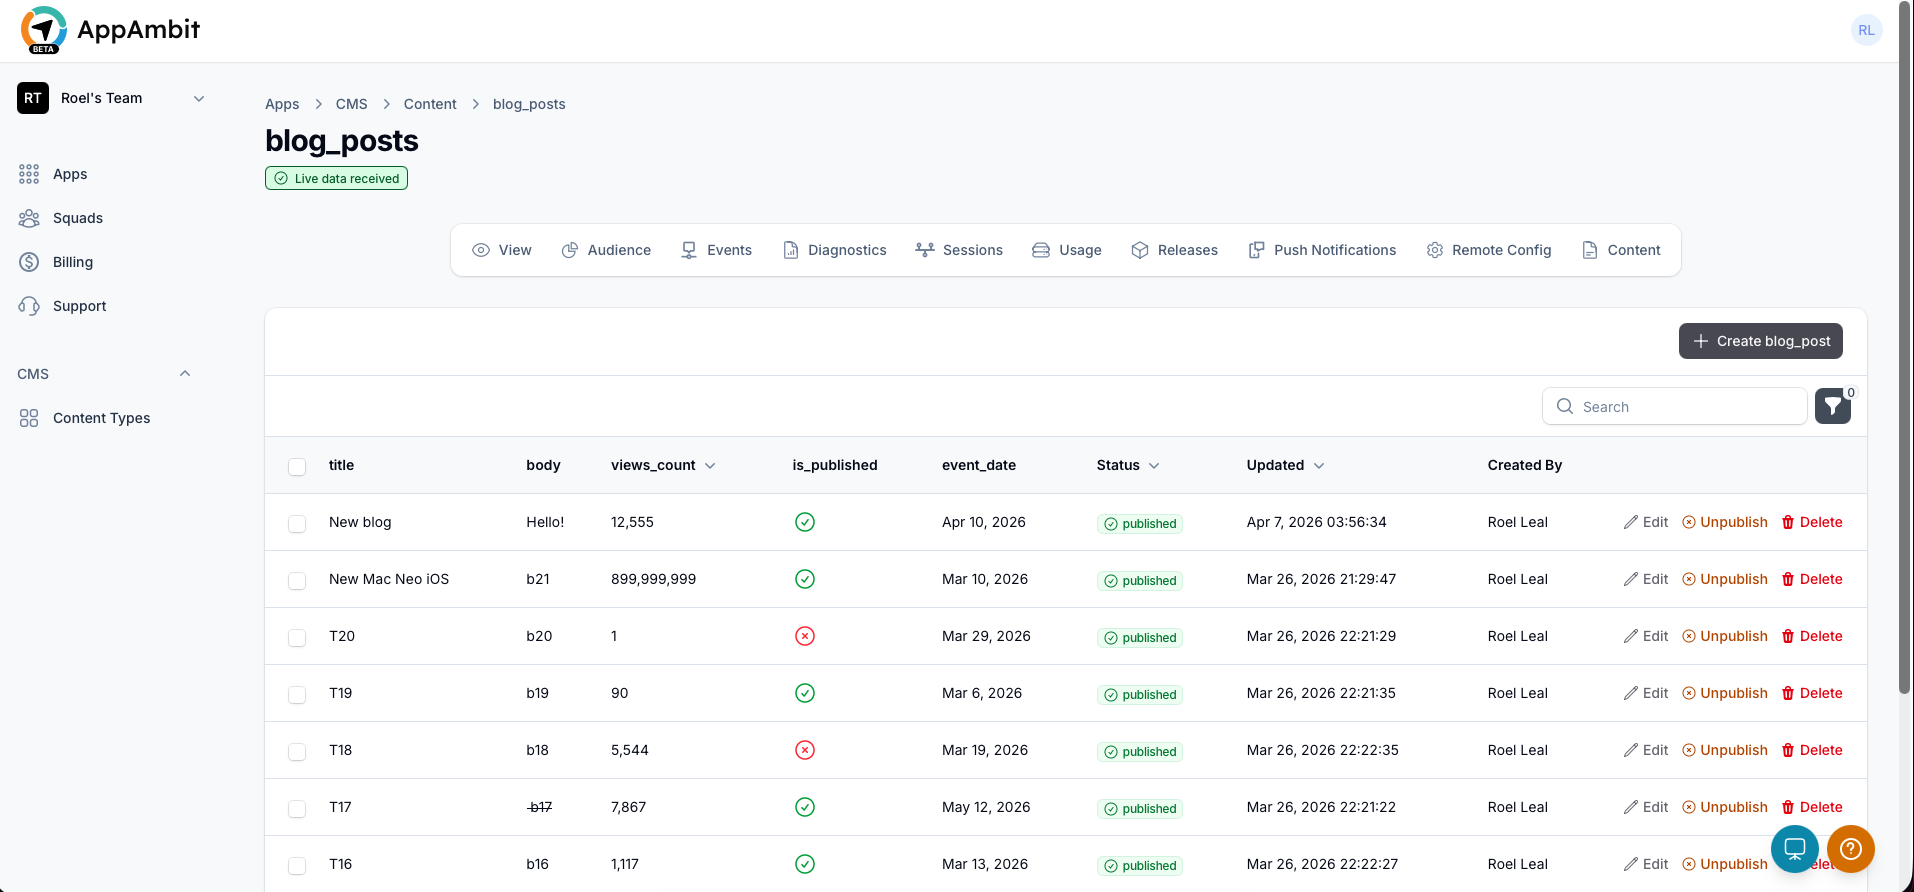
3. View Entries for your Content Type
Here you'll see a list of all Content Types assigned to this app. Click the View Entries button next to the Content Type you want to update (e.g., blog_posts).
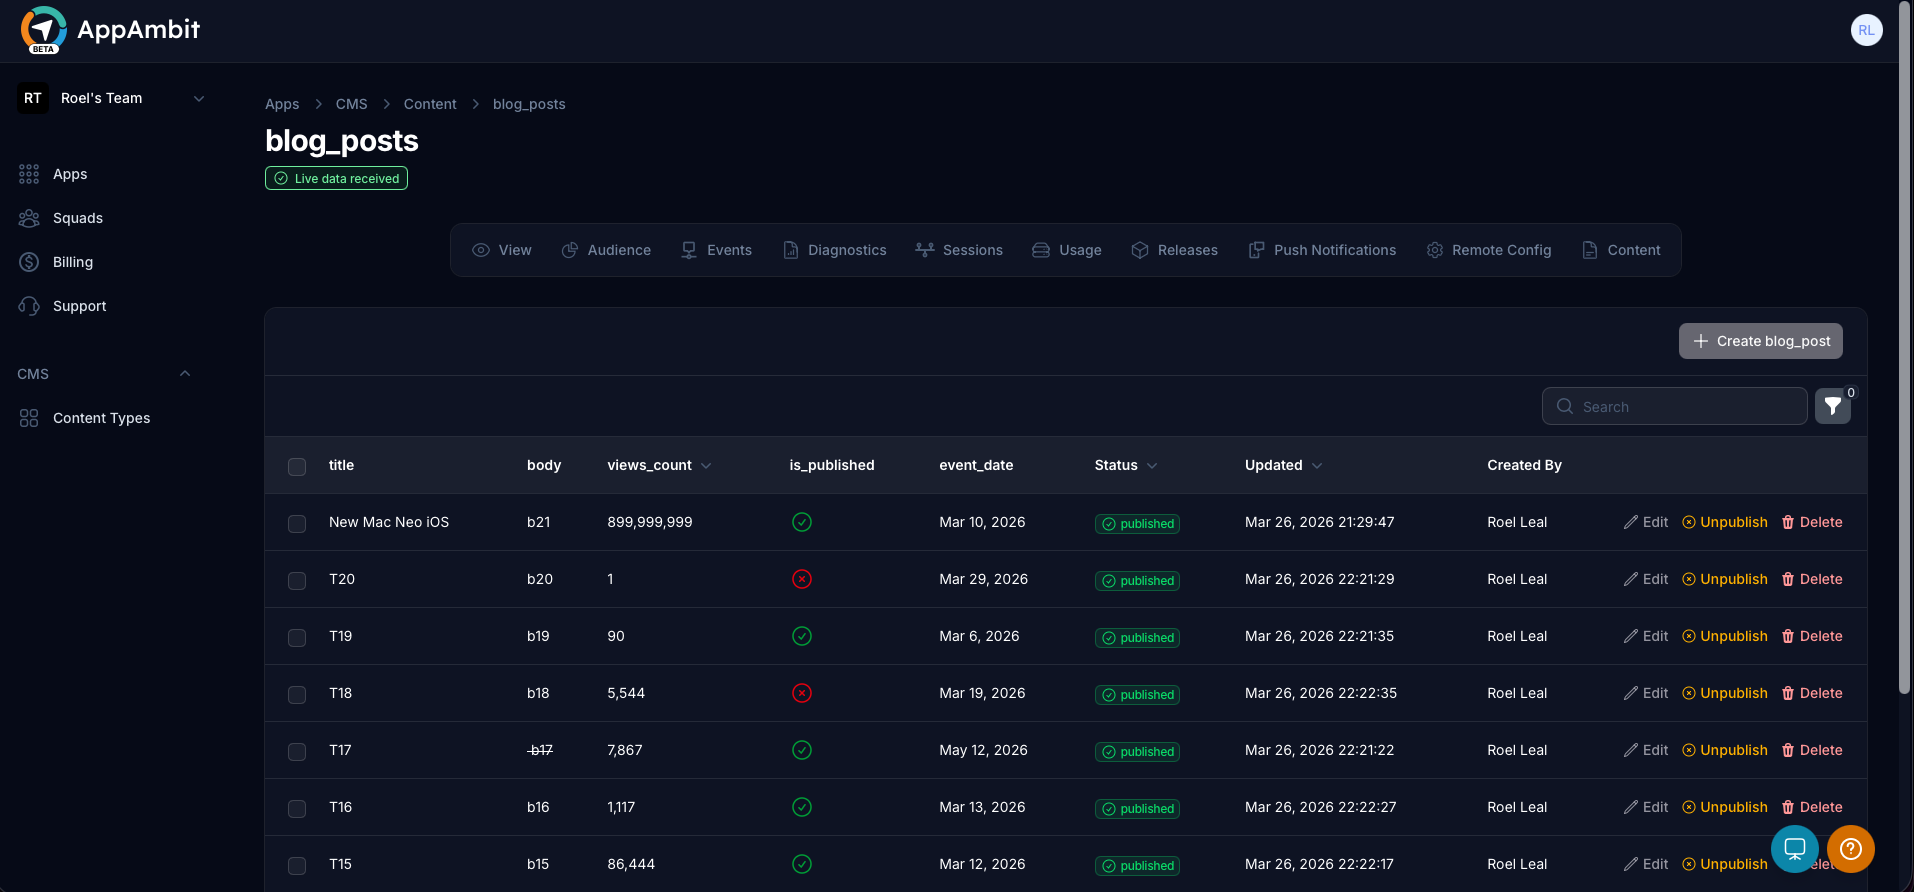
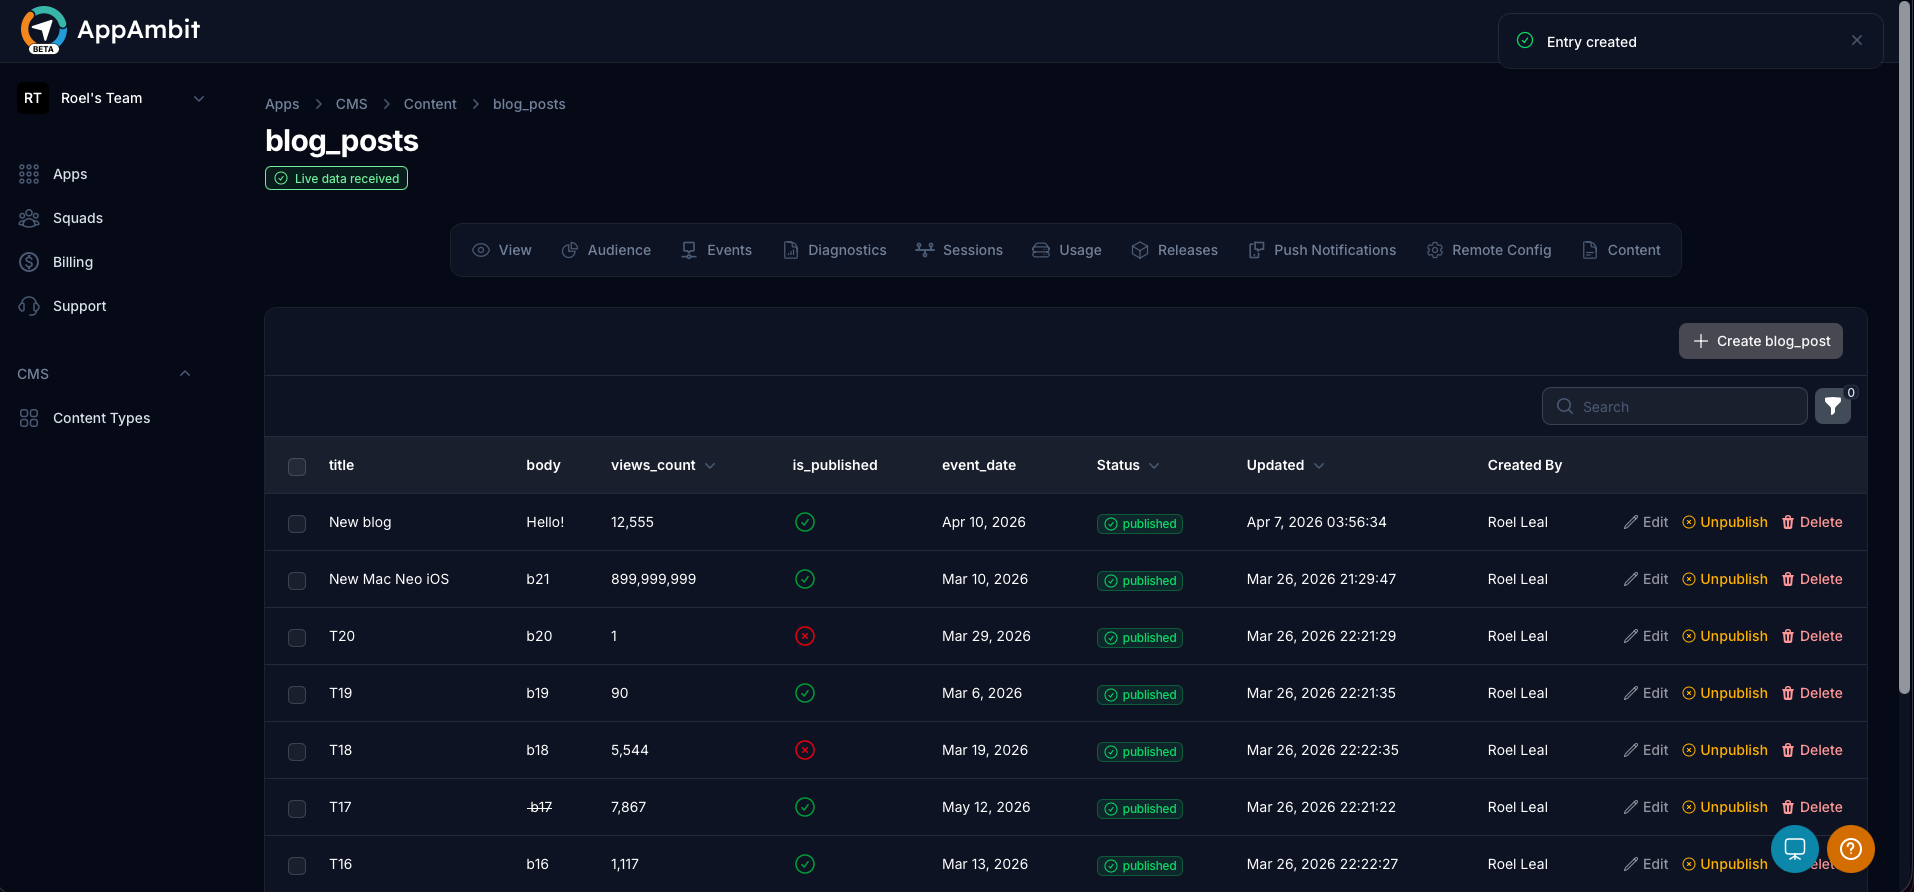
4. Create a New Entry
You are now viewing the table of existing documents for this Content Type. Click the + Create button in the top right.

5. Fill out the Fields
A dynamic form will appear based on the schema fields you defined earlier.
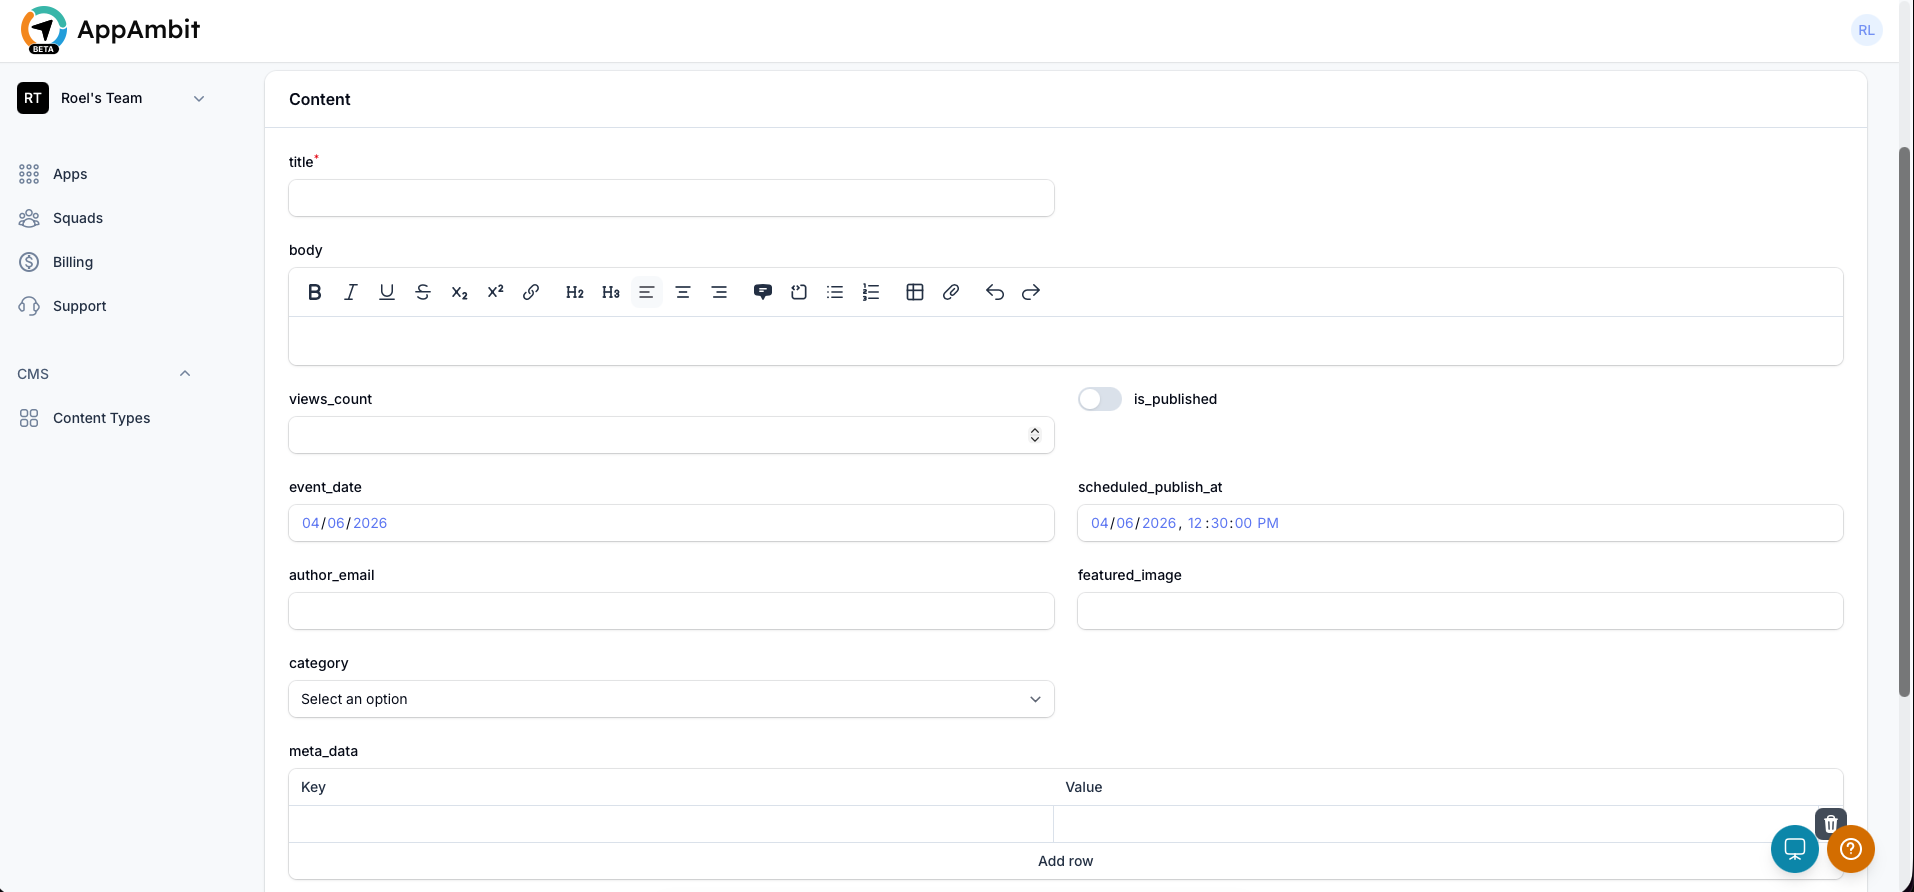
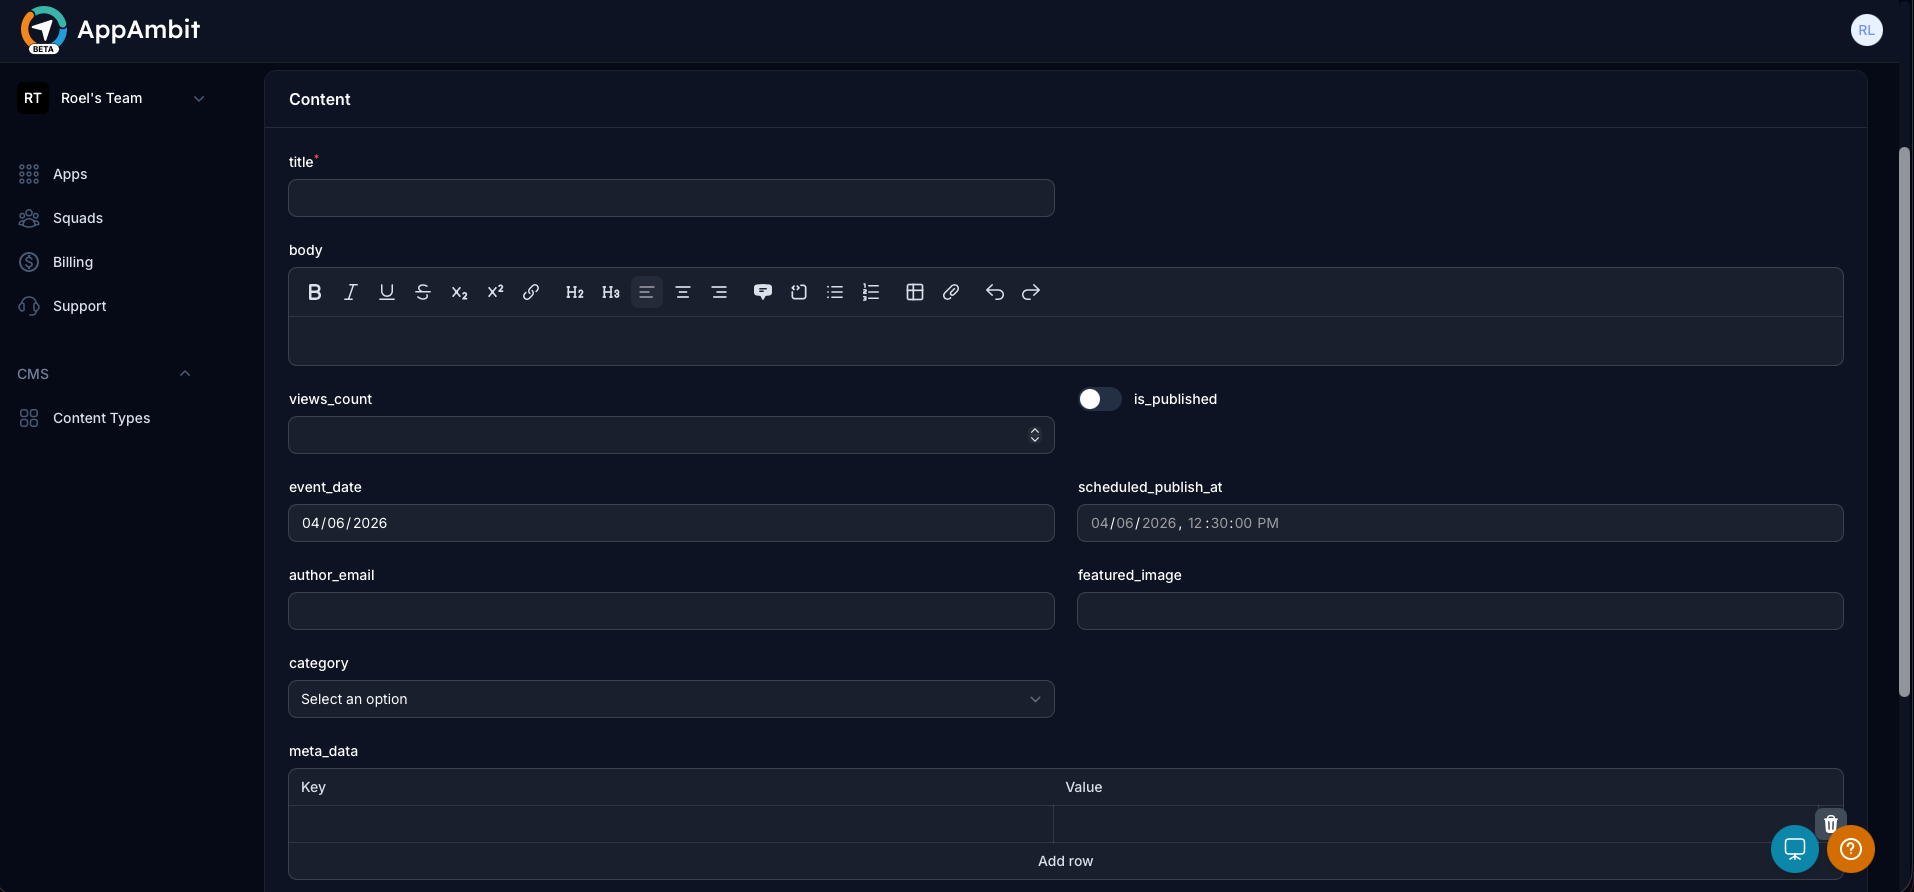
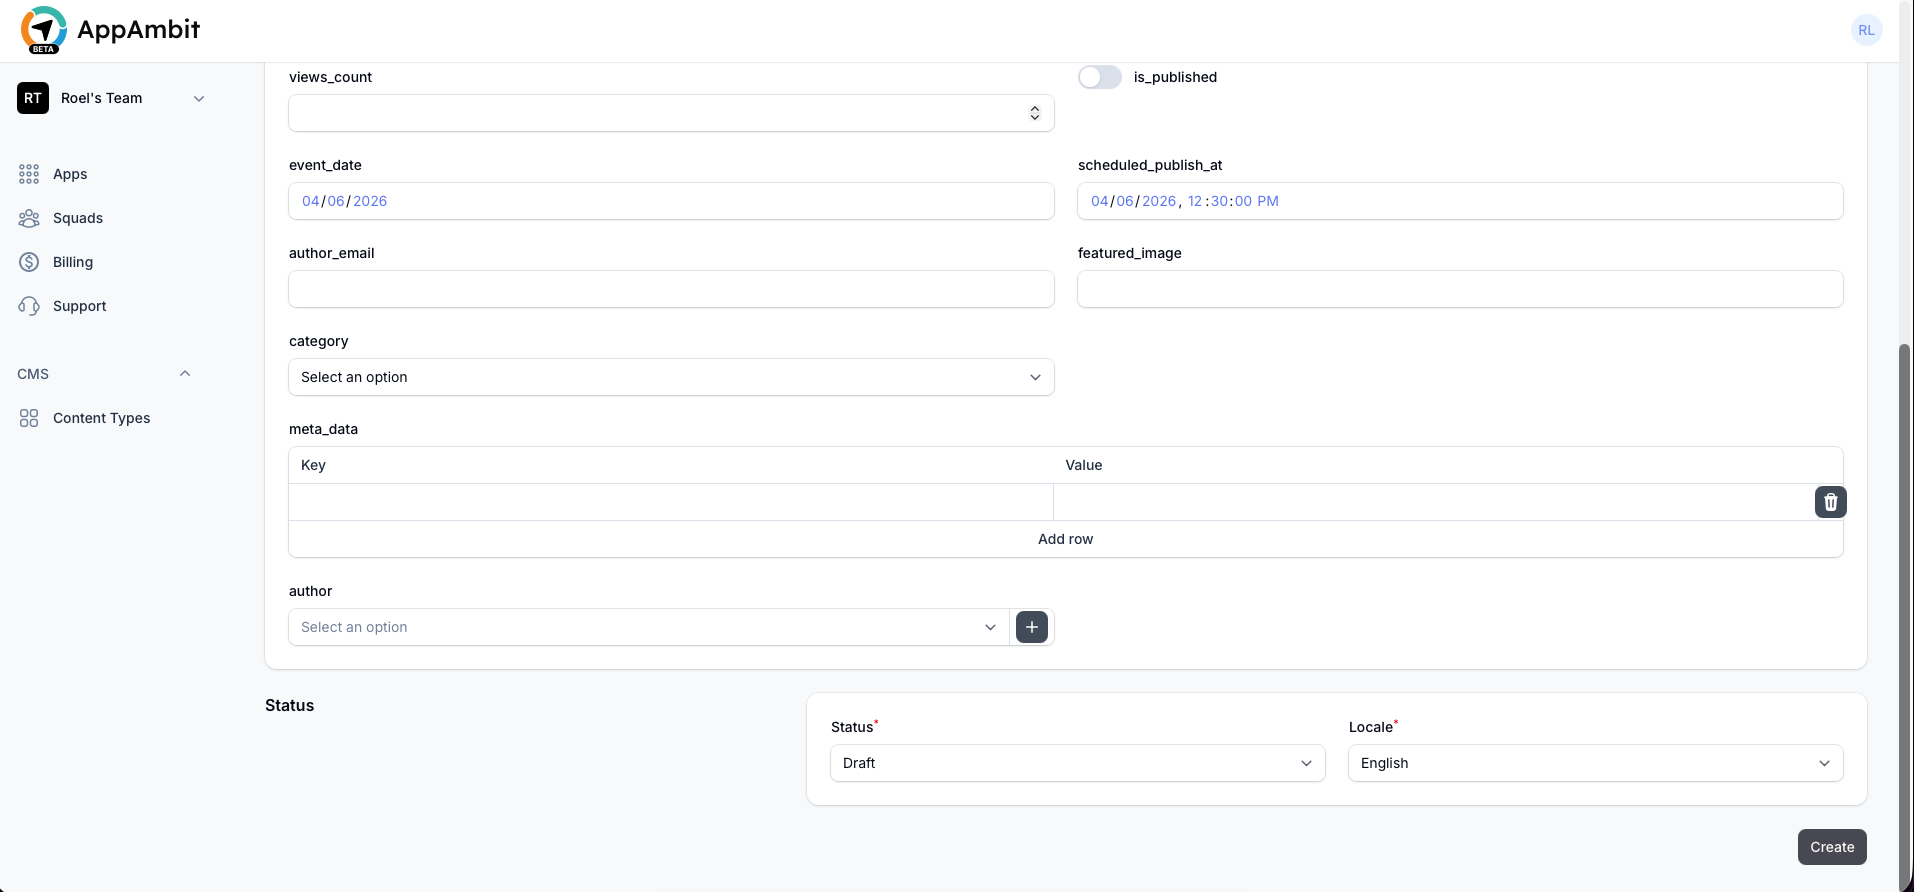
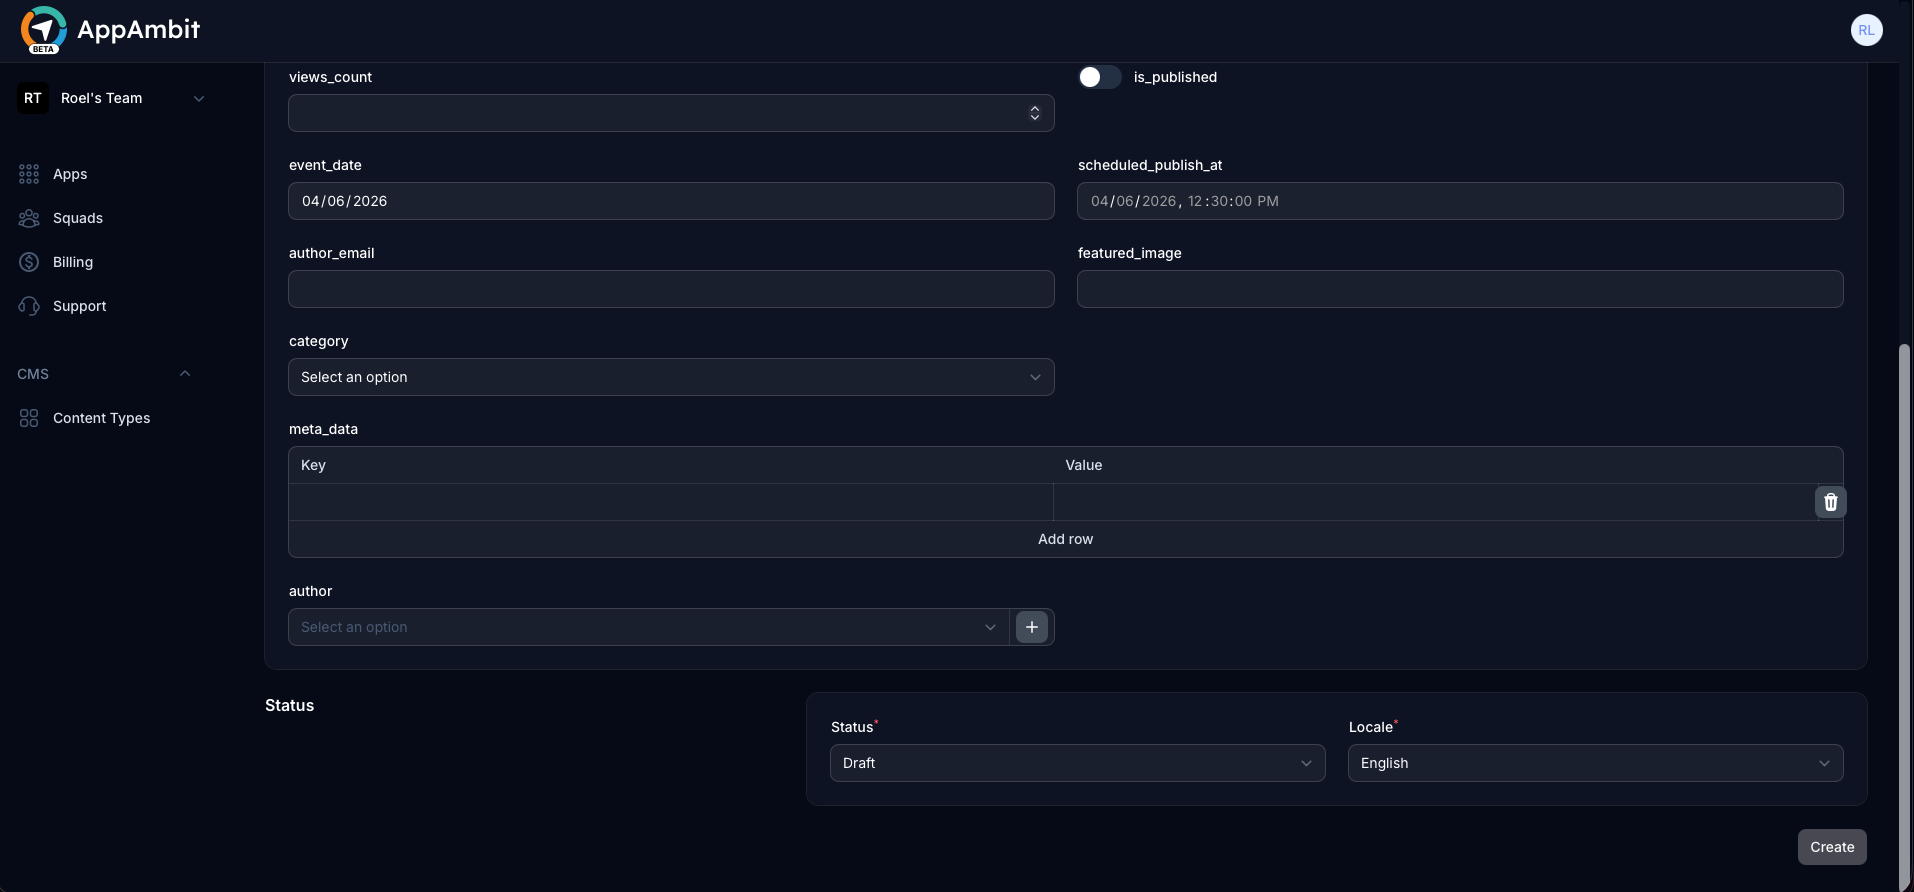
Fill out the corresponding information. Depending on the field type, you might see rich text editors, date pickers, or JSON inputs.
Click the Create button at the bottom to secure your entry.
Editing, Unpublishing, or Deleting an Entry
- To edit: Click on any existing entry in the list, update its values, and click Save changes.
- To unpublish: Click on an existing entry and turn off the Published toggle to hide it from your live application without deleting it.
- To delete: Use the delete icon or options menu next to an entry to permanently remove it.
Next Steps
Now that you have created an entry, you can fetch it inside your application using the SDKs.
-
CMS SDK Integration
Ready to pull data into your app? See how the client SDK handles queries, filtering, and caching.